Wednesday, December 23, 2015

Starting on scenery shaping

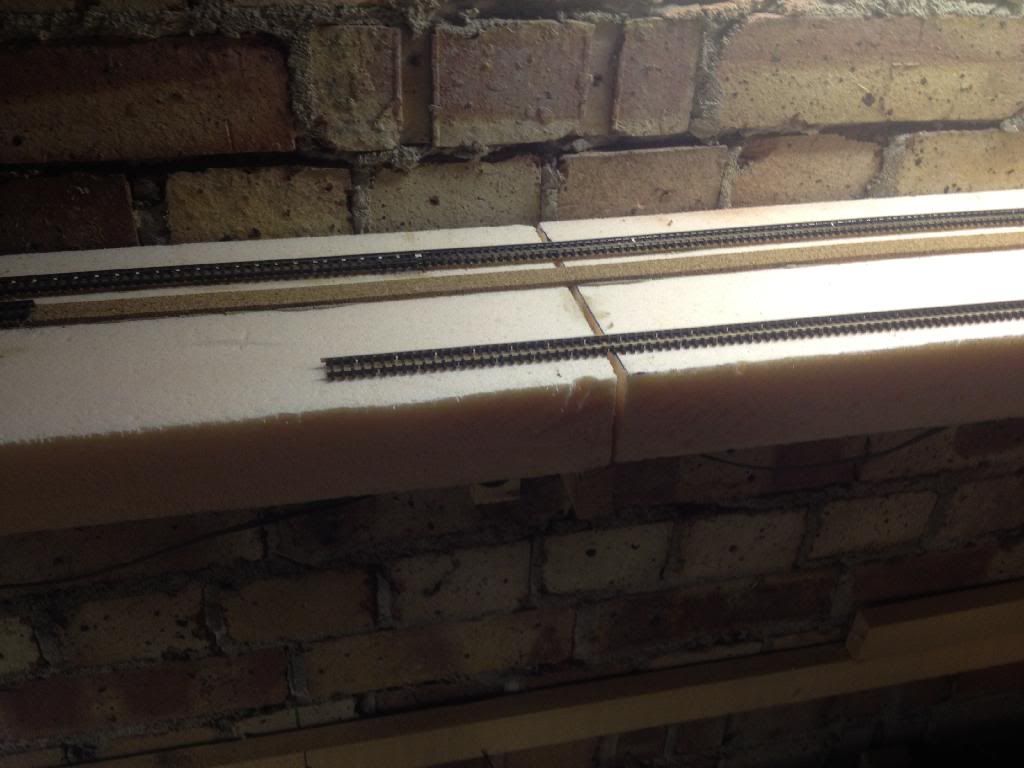
Though the minimalist approach will be applied, I wanted a bit of variety from pure flat; corners seem to be the best places to go, so this one will represent a country crossing, with some small hills and trees:

Scenery rough shaping


Most of the scenery on his layout will be flat, but I wanted to add a small touch of variation to this corner.

In the corner itself


 Just a close up really of the larger hill shape.

From the side


 The larger, corner hill, again...

With a train


 Just because...

Wednesday, March 25, 2015

A day for layout progress...

I spent a few hours actually working on the layout rather than running trains and doing wiring (that does not show in public).


Road sub-base installed

I place the location of the main road before applying the ground scenery; this way the road is solid and more easily raised to the track level. The lines indicate extreme edges of the shoulders, and the future drive-in cinema. 


Another road, another corner.

The extremity to the right is the driveway for the farmhouse, and the base for the house is behind the driveway. A roadside general store will be on the opposite side of the road, but I did not have the structure on hand to set the base. 


Track re-alignment

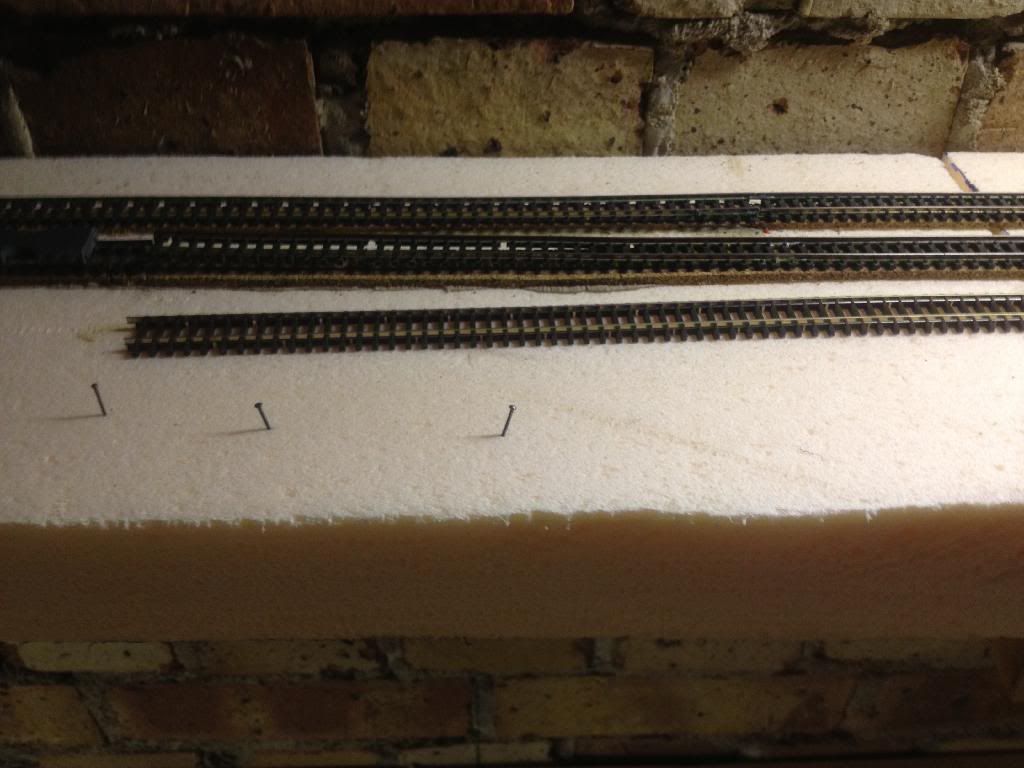
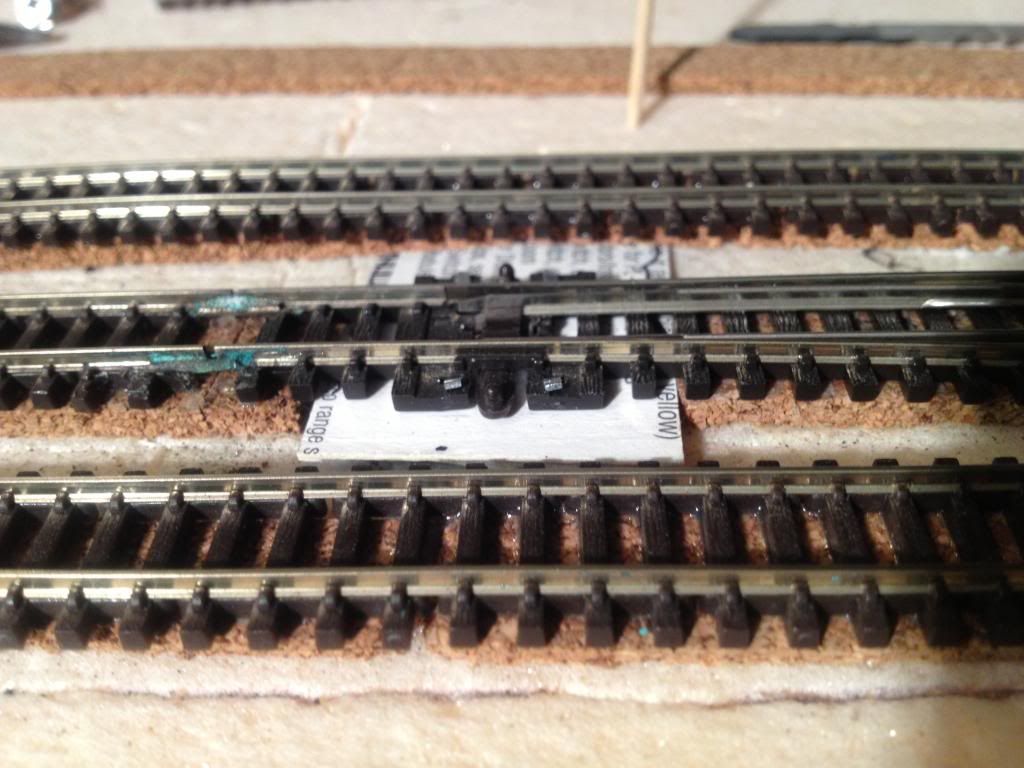
The track in the area of the white pins had a kink where it connected tot he turnout, so I loosened it with wet water and managed to get it aligned how it should have been. The cork was now no longer under the track, so I had to place a small piece under the track to correct this. 


Ariel view of the re-alignment

An overhead view of the changes made to re-align the lower right hand track coming out of the main route of the front turnout.

Thursday, October 30, 2014

Finishing the Control Panel

Close up of the main panel changes:


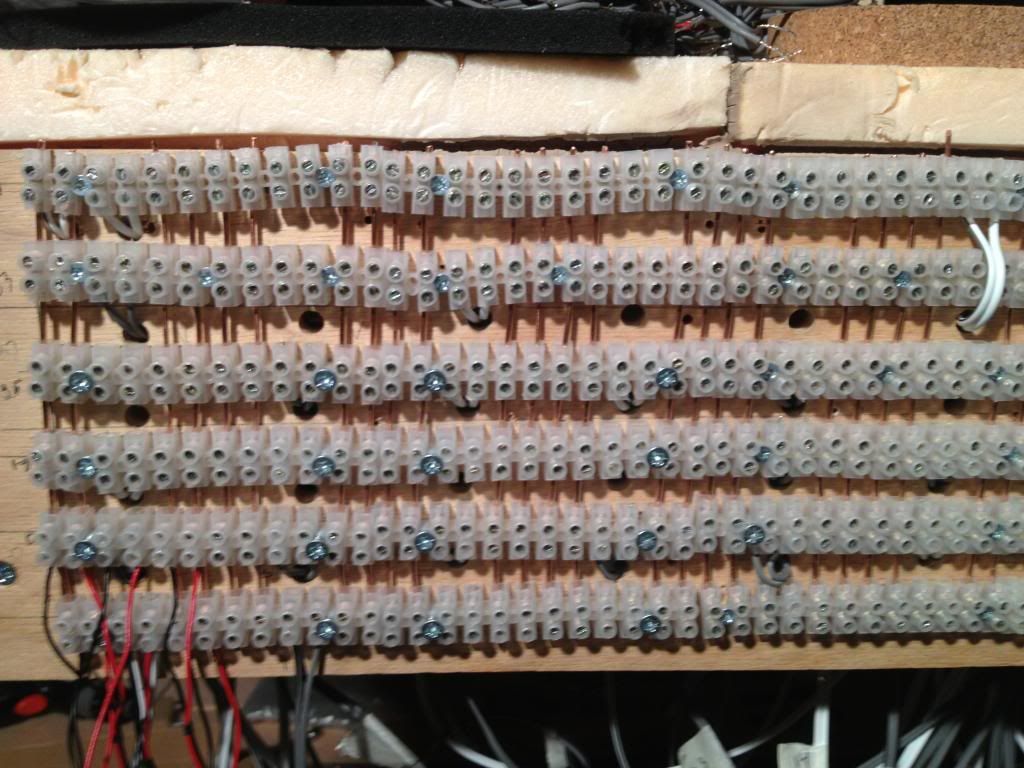
Just a close up of the bus wires being installed on he the main panel. Using the solid conductor wire removed a lot of hassle from the wiring process.

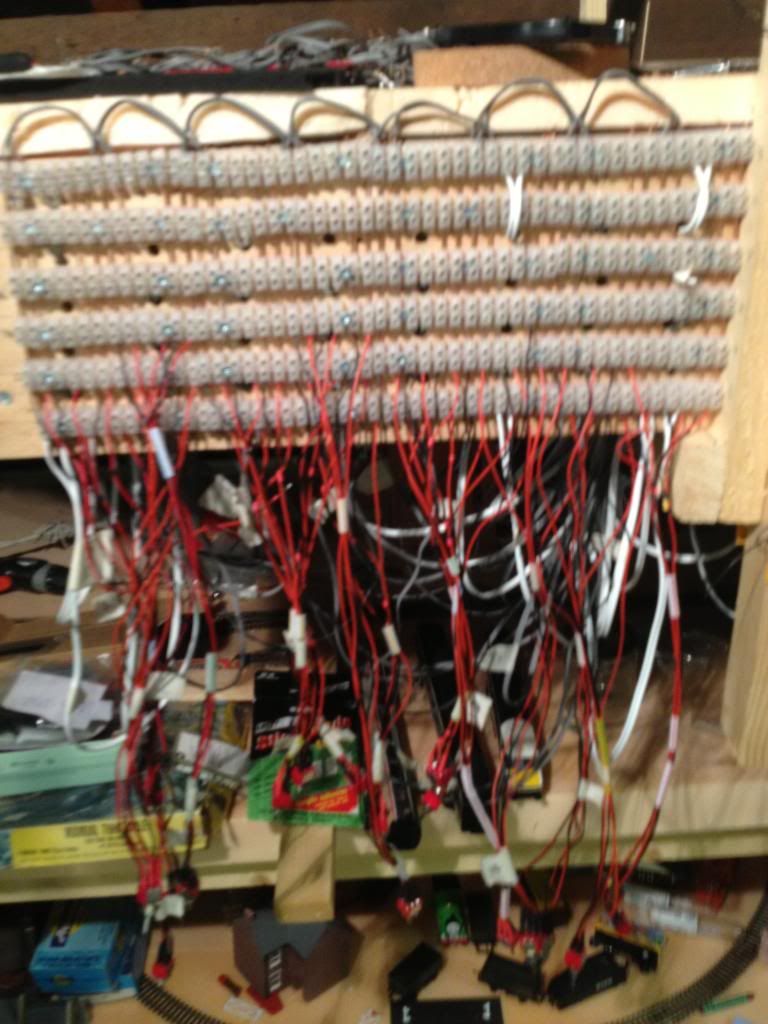
Adding block switches:


It looks a bit if a mess, but everything is labelled by the block number.

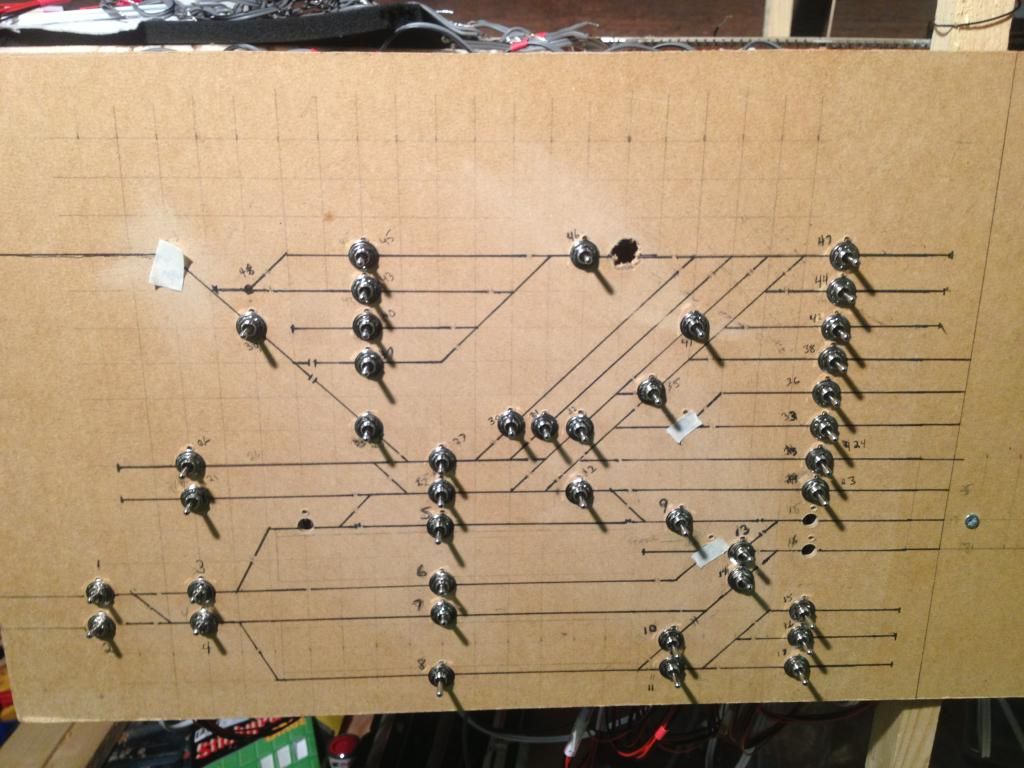
Control Panel - Complete


With the exception of one hole that needs drilling, and the second power source connecting, it's about done. For now...


Sunday, May 18, 2014

More Track Replacement and Control Panel Improvements

When I decided to undertake this adventure, part of the draw was the opportunity to use some of flex track I had managed to acquire over several years in N scale. I previously had a layout with a substantial double-track run, so had a few feet of old track.

Unfortunately the reality of using it has not measured well in some places, and frequent enough issues arose to make track replacement a very strong argument. ESPECIALLY as I had one and a half boxes of Peco flex "left over" from finishing the yard...

This section was one of the most recent, the inner track at Bad Brick:


I also took the opportunity to run some trains, because after all, why else do this?


 Three CNW GP40s and thirty-three various covered hopper cars slowly negotiate new track on a tight corner. Wrong side running because of the backlog of trains, it will cross over at the next crossover, as a delayed train was just behind me on the left-hand track...

Later, I installed a servo motor and control board I have been experimenting with (see http://n-scaleprojects.blogspot.co.uk/2014/04/servo-turnout-motors-on-foam-layout.html). I am impressed with the simplicity and operation of the unit, as well as the current routing without shorting feature of the control board. Will be doing a few more of these at least, maybe quite a few, as I upgrade mainline tracks, station tracks, and switch leads. If it all goes quick and smoothly enough, maybe even all of the turnouts one day:


The servo controlled turnout on the extreme right, prior to trimming the throw wire and the glue drying.


The "other option": Peco turnout motor mounted under the turnout, with a piece of card to protect the motor and cover it for scenery. I never really grew to like this installation.

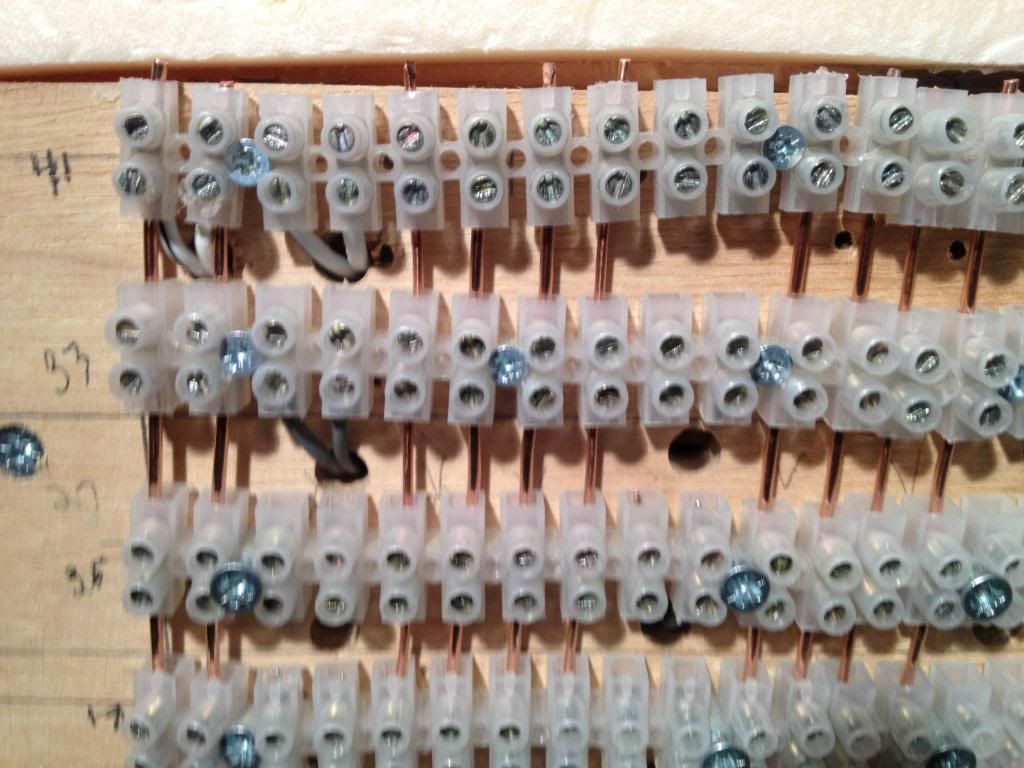
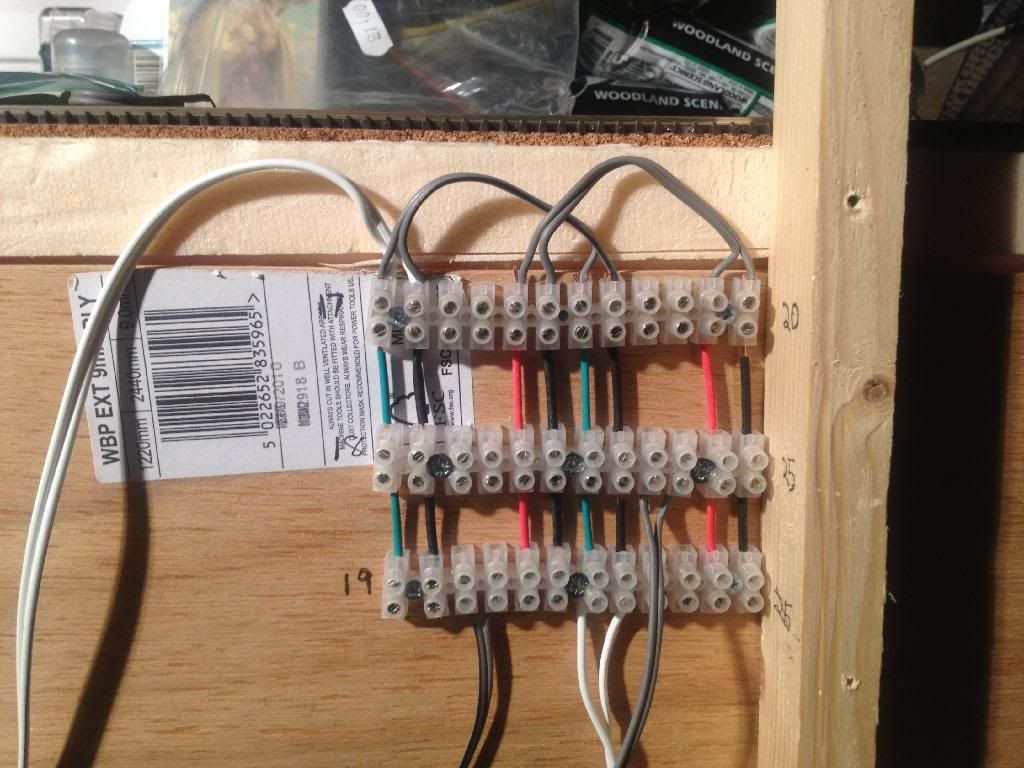
Lastly, i started improving the power distribution in the control panels. Starting with the remote panel for the Eastern end of the yard, I replaced the jumper wires for routing current to the selector toggles with stripped household mains cable. As there are three conductors in each cable, it did not take a huge length of it to give me enough bus wire. I added heat shrink tubing to insult the  wires, but as an afterthought, /i felt it was overkill, and the biggest hassle of the whole operation:


I progressed to the main panel, which gives a greater benefit in simplifying the wiring:


Monday, August 12, 2013

Catching Up On Progress

It’s been a few months of short spurts of progress, with the exception of track laying:


 The locomotive terminal, most of the track laid


 And finished.

I spent some time over the past weekend attaching feeder wires. Since I plan to make the layout DC friendly, I needed a few of them! And not to mention that a layout this size will still need more feeders even on DCC!


Next time I HAVE to do something about the control panel. And hopefully get thirteen more toggle switches wired before then. Not quite sure how I’ll do it, but I’d really like to the DCC bus in, and have the two power options available…

Wednesday, April 3, 2013

Fighting the funk of not working on the layout

We were talking on line about the malaise that sometimes sets in; you can go weeks without working on the layout, until something moves you to make progress.

I decided to do something about it!

All finished:


Except for the details, and the wiring. And the scenery. Oh well, at LEAST I can use it as a yard


The coach yard tracks in place; what color WOULD you expect me to use?


The caboose track (of course):


The locomotive servicing area; I need to make a few small adjustments in track centers to fit the refueling and sanding equipment in place, and give my little 1:160 service crew room to work, but for the most part all that remains is to lay the track:


Next time: the last of the track laying. For now.


Monday, March 18, 2013

Yard Work, Model Railroad Style...


It seems like it has been a long time, between having to find a new job, being sick with the flu, and the weather making it a bit too cold to do anything productive. But in my efforts to make good from bad, I put the gift I as given by my colleagues when laid off from my job to good use and purchased most of the track I would need to finish the yard area.

Three boxes of Peco flex may have been overkill. But it DOES mean I can look to do something “with it”…

Progress:


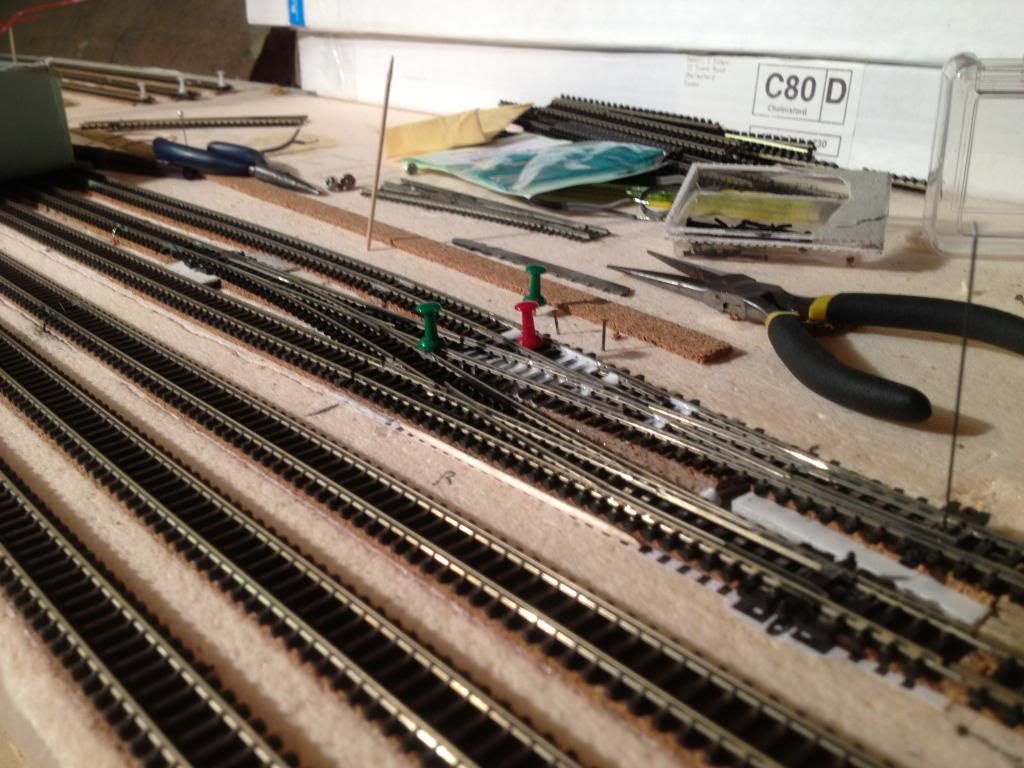
The caboose and auxiliary tracks have been put in, except for the #2 drill track, as I was short a turnout.


The pinned tracks are in place to plot the location of the cork. This way I can visualize where the tracks will be and decide if I like the location and placement.


The through tracks are all in place, and the pins are are holding the track in place while the glue dries.

And to make more progress on the next visit: It looks like the happy birthday fairy blessed me with all the turnouts I need to finish the loco servicing area real soon.

Time to look at details: since I can't go to a hobby shop and see them, what are your thoughts on the fuel and water products offers? I've got a Stewart Product double track sanding tower, so looking at Stewart Products, American Limited, Walther's, and JV Models. Any other manufacturers?

Edit: Well, so much for on-line ordering lol; in place of seven N turnouts I got seven HO/OO. The packing slip has the N product numbers, so worst case I have hostages lol...