Tuesday, December 28, 2010

Lofty Ambitions Christmas Special

I managed to get the baseboards/sub-roadbed in place and connected all the way around the loft. Some shots of the progress. Subroadbed in place:
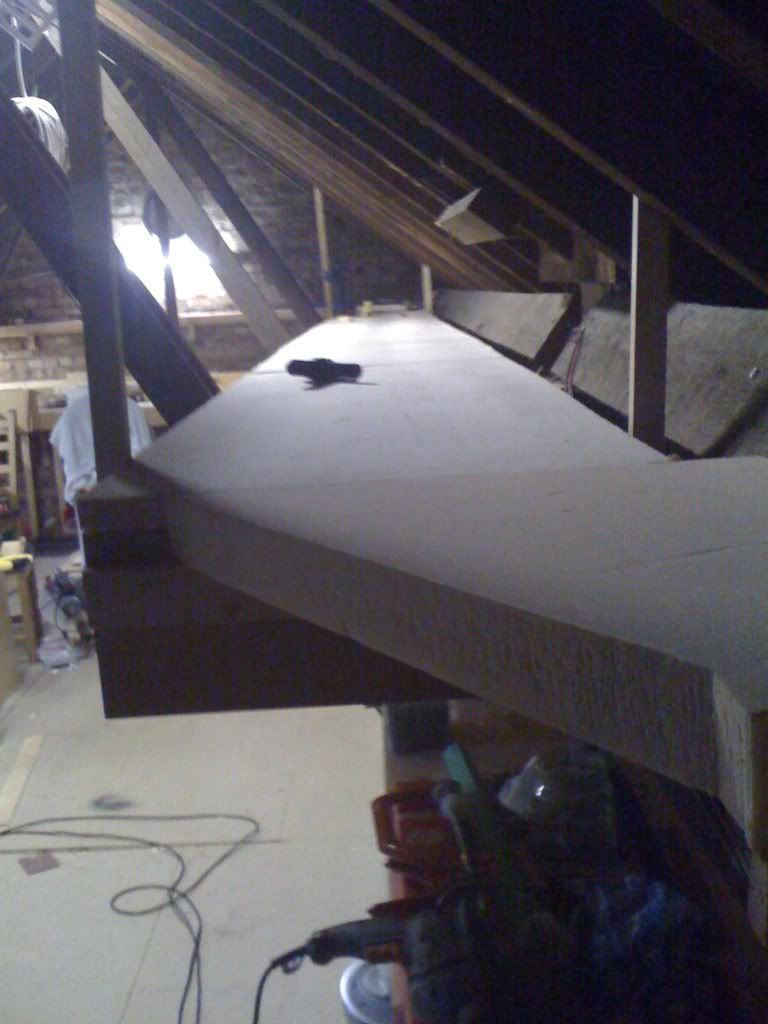

I took this after fixing the supports for the yard modules in place, but before I started on the far end or any track... 

Transition into the Yard:
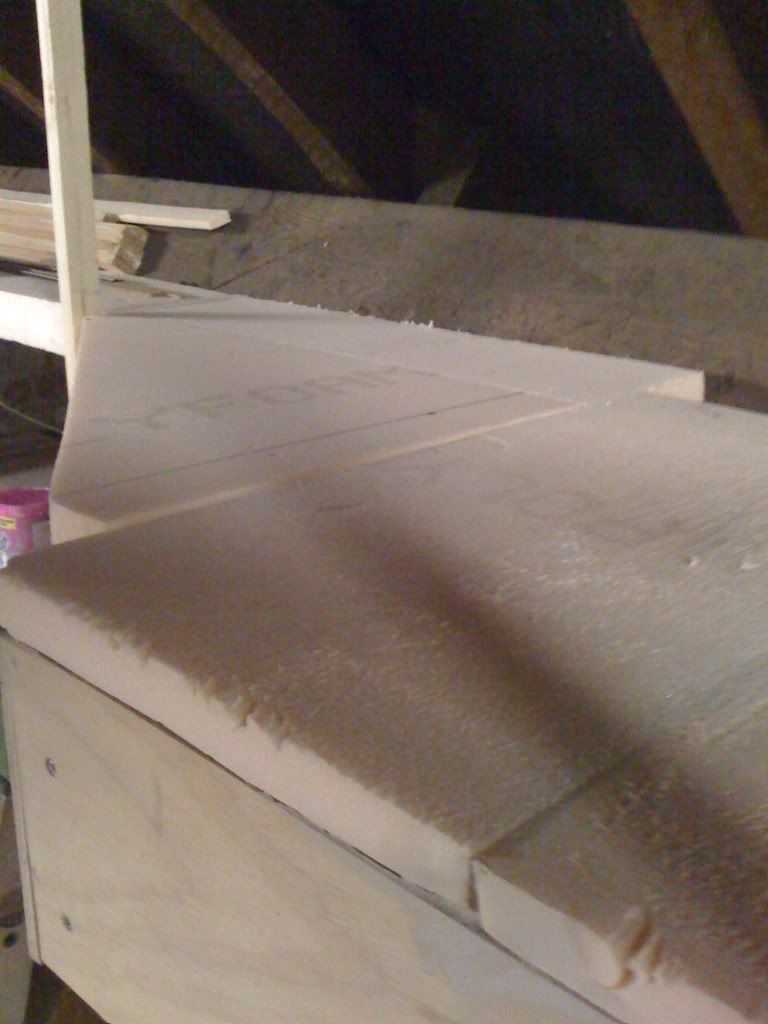
The transition from the narrow "around the walls" layout to the yard modules. The triangle shaped section is removable to allow the yard modules to come out. The two sections of foam are left over from other projects, so not wasted...

View through the Yard:
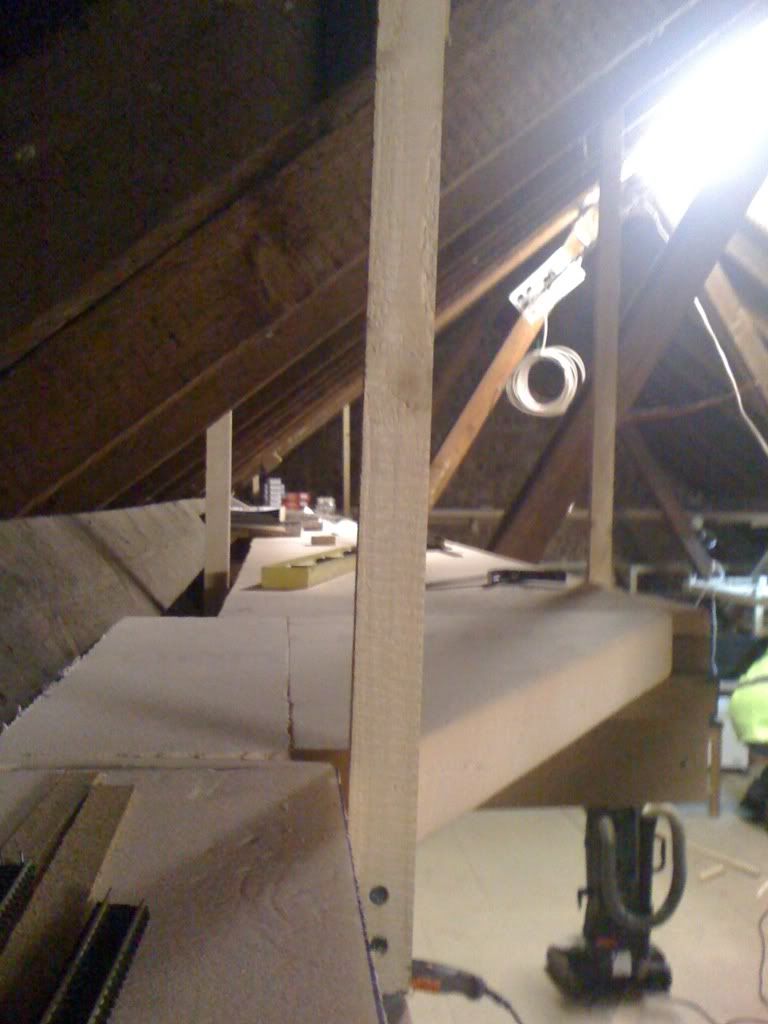

Now that it is all in place we can look down the space where the yard will be...
I then started to work on where the track will go, so I can hopefully get the mainline laid and run some trains all the way around.

Platform One (of Two):
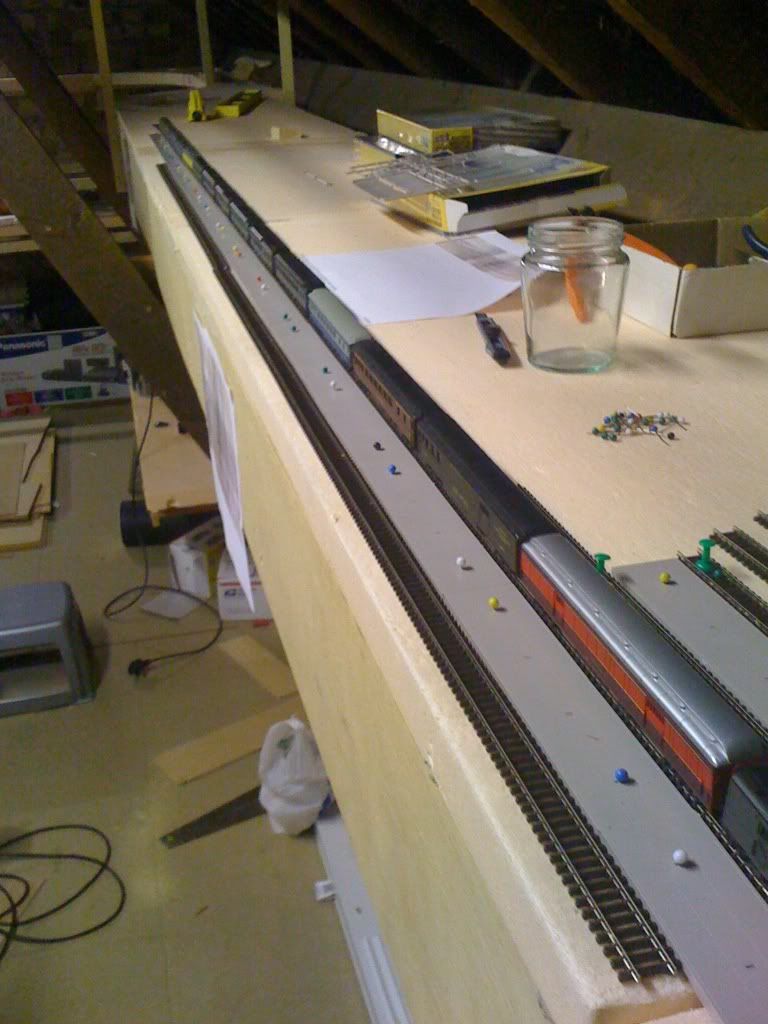
Rough-in of the Passenger Depot area; there will not be a station building on the layout, but the platforms will be lit. The platform is eight feet long, and the train is sixteen cars of heavyweights. 

A three track coach yard with three four foot plus tracks is planned for the area "behind" (down and left) this view.

Proof of Concept test:
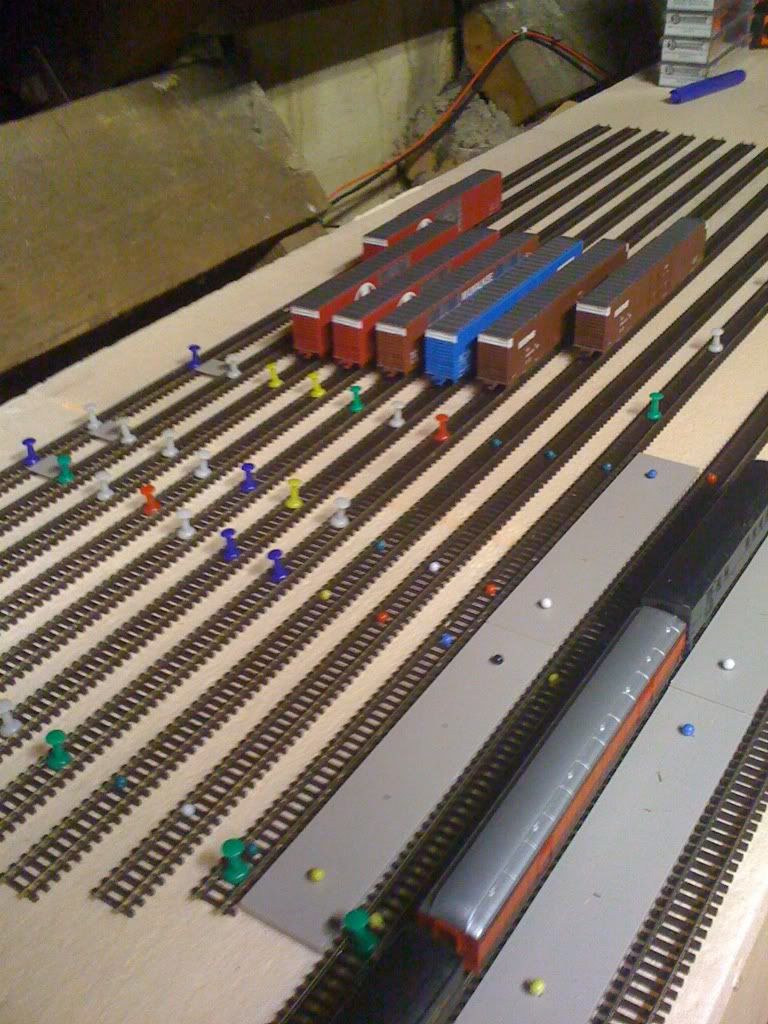


I laid out the tracks with proper spacing to see how many would actually fit in the space I have; it turns out that even after adding an additional track I still have some extra space along the back...

More "Proof of Concept":
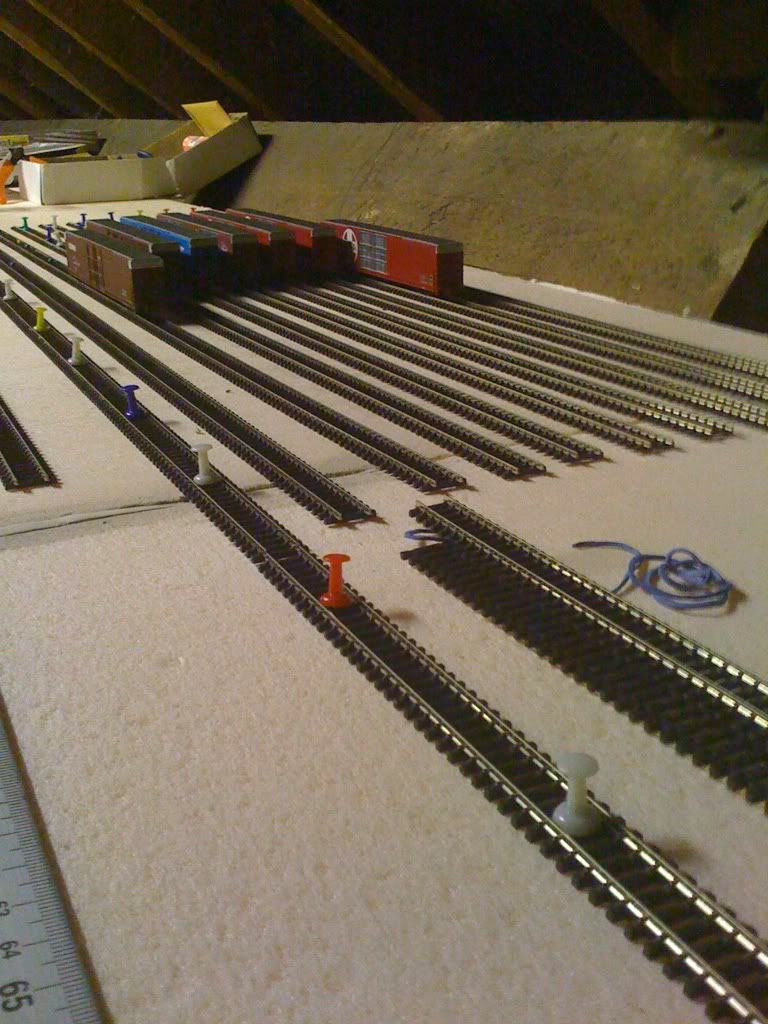
 
Another shot of the proof of concept testing. I laid out the tracks using the "bridge" walkway sections from the Walthers "Butterfly" platforms to space the tracks. The cars in this view are the Bluford Shops 86' High Cube box cars. Track is by Peco.

Tuesday is hopefully going to see the Mainline track laid through this whole side. I’ll update if and when…

Thursday, December 9, 2010

More Progress; Yard Frames Built!

Despite the colder than average attic this month, I managed to get the last of the three frames completed and the foam cut and fitted inside the frames. Now if the glue sets over the next couple of weeks i can attempt to finish the edges and get the yard section in place. After that it's run the rest of the mainline and start the trains!

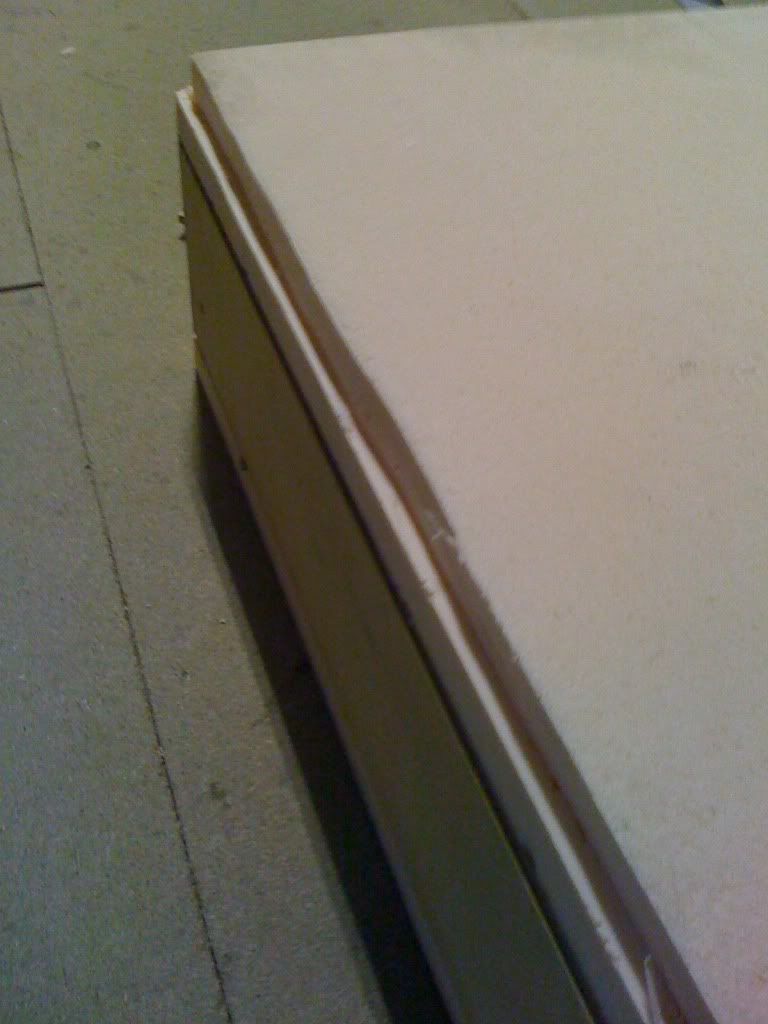
But first; I mention partly recessing the foam into the frame section. I trimmed a channel around the edge of the faom sections where needed so that it sit halway inside and half above the frame. Not sure why, but I thought it would be better not to have a bare section of wood on the edge of the section; it is in effect a solid foam sub roadbed. Here's a shot of one section:


There are also eight 2"x2" supports and four plywood cross bars to support the foam, so it's not all down to the edge to keep it together.

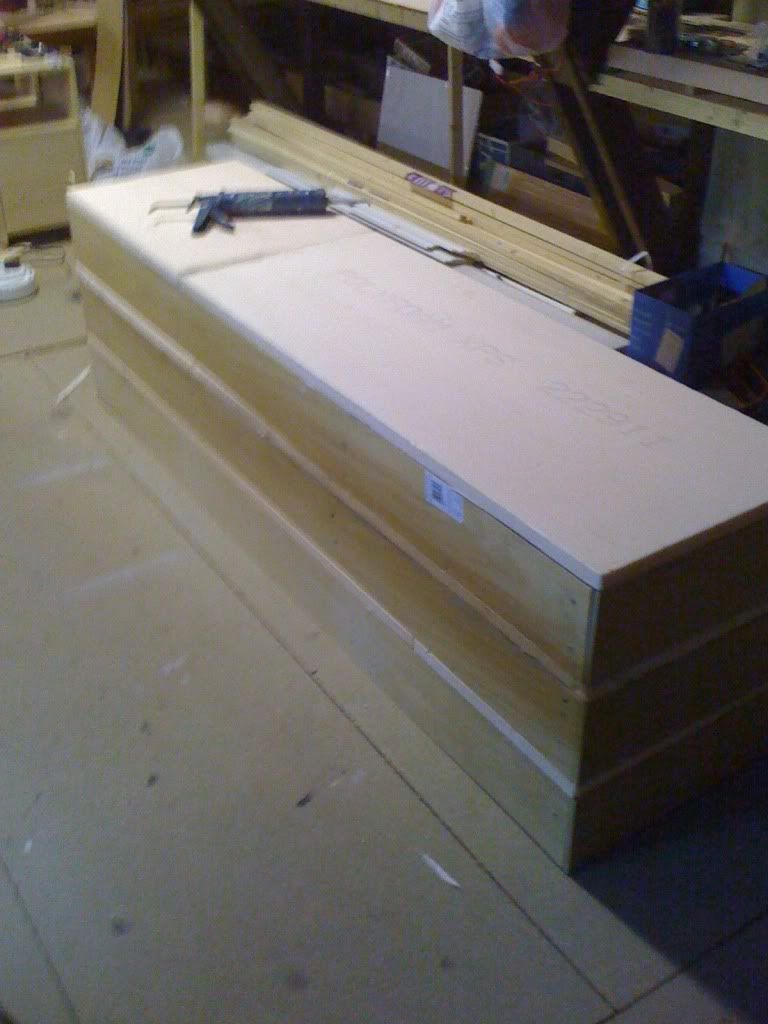
Here's the three sections stacked for drying:


Like I said, getting there...

Monday, November 22, 2010

Progress on the Yard Modules

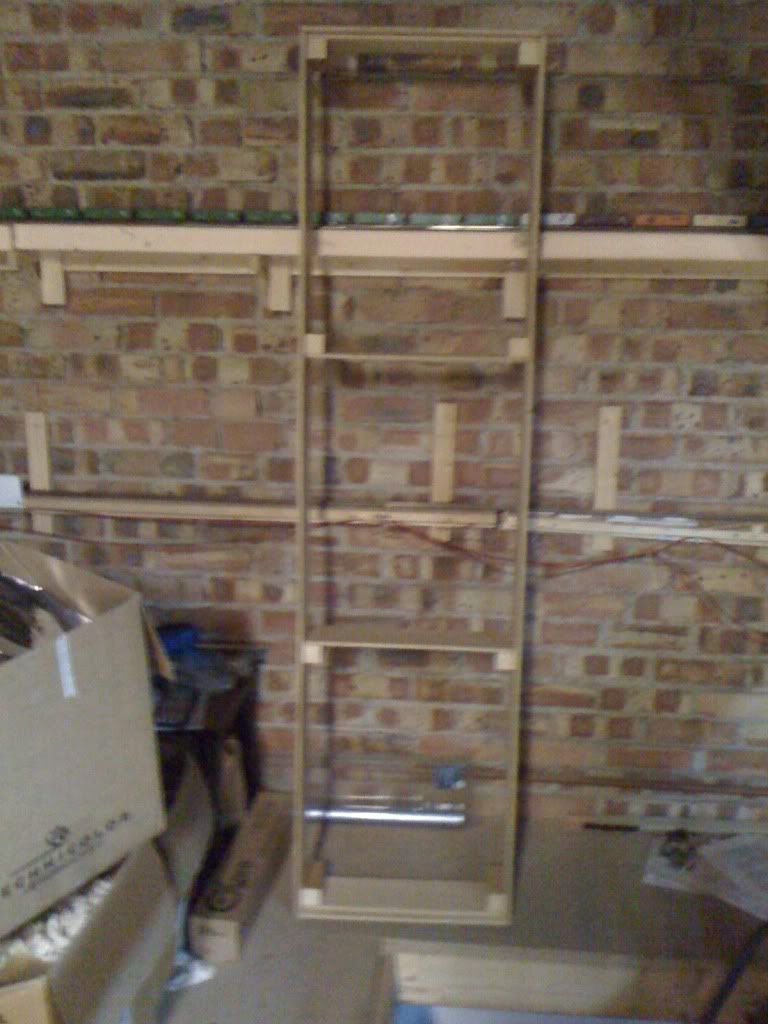
Well, so much for plans. After spending a w-o-n-d-e-r-f-u-l night in the ER with my grandson and his ear infection (funny how these come on sudddenly and badly over the weekend?) I didn't get as far as I would have liked, but I did manage to get two of the three yard frames finished. Here's one:


Apologies for the fuzzy picture; taken with my iPhone in the bad light at this end of the attic...

Might have got mostly finished on the third, except my countersink bit broke (well, the drill bit inside it broke, and OF COURSE that was the one size I didn't have a spare for!), and I've never taken a shine to the "British" version.

Nothing against the "local" variety, but I always found they make a messy hole, and you either need a second drill to do it easily, or spend a lot of time swapping between the bit and the countersink. Or be extremely talented and drill the holes all in one go, which I am not...

So the "new" plan, for the next building session, is to:

1. Finish (build) the third frame
2. Install the foam sub-roadbed. This will be recessed into the frame with about one inch above the framework, to give it a little added bracing for keeping square.
3. Add some additional bracing if needed to keep the frames straight, square, and level.

and if I have enough time:

4. Start planning/building the supporting framework to get the yard area baseboards in place.
5. Lay the through tracks to close the loop

and OF COURSE

6. Run some trains...

I'll also get some better pictures of the component of the frame as it goes together, in order to show off my engineering skills (lol). Might save someone else having to re-invent the method...

Wednesday, November 10, 2010

I'm getting there...

Maybe I should re-read history and recall how long it took REAL railroads to get to where they were trying to go. Then I wouldn't feel the same way about my slow progress.

I HAVE managed to get the "engineering" sorted for the yard section, and yes, it will be removable. Thankfully the local building store offers up to fifteen free cuts on a piece of wood (or order), so I took my 4'x8' (or whatever the metric equiv. is!) and said "Six inch strips please. Lengthwise..."

So now in the loft there is a pile of:

6 x 5'11 3/8" x 6" strips (six feet long minus the thickness of two strips that go on the ends)
6 x 18" x 6" ends
10 x 17 3/8" x 6" "inner braces"
36 x 2" x 2" x5" corner braces

I'm figuring that a six-foot long section will allow me to move and transport the yard reasonable easily, without making too many joints in the complex parts of the track. I'll wedge/glue a 'top' of foam inside the frame, and leave it sticking an inch over the top of the frame, and flush with the sides. Unless it turns into too much of a PITA. Between all that cutting, and making some progress on the "downstairs" decorating, I didn't get it build this weekend. Oh well, it's all there ready for "next time"...

Monday, September 27, 2010

September is Almost Over Already?

And I know I haven't kept this going regularly, but I have only done one day's work on the layout all month. I managed to extend the double track halfway around the room, and installed the first crossover.


After that I spent a couple of hours doing track maintenance, brought about by either the drop in temperature, or the selective fickleness of wheel on my Bluford Shops high-cube box cars. Either way, I was able to run the entire train from end to end with only one small hiccup, probably from a car needing to be "gone over". My son shot some video:


...the focus is a little off, as we were experimenting and suffering from bad light...

Wednesday, September 1, 2010

August Progress omnibus

This month has been a little slow on the construction side; outside influences and two weeks of vacation meant the part that was left was filled up with other stuff. Yes, it does happen lol...

I DID however manage to lay the beginning of the double track main line along one side of the loop; I still need to work out the "how" factor for the yard, but the good news is the rest is progressing, even if slowly at the minute. It is surprising how quickly the second track goes in, after the time and effort to build the shelf and lay the first track. Probably very similar to what "plains" railroads find when double tracking...

Since I did a few feet in a number of visits, I didn't get any pictures. But next time, I will...

Tuesday, June 22, 2010

Week Four:

Over the weekend I laid another twenty-some feet of track. And test ran a train. Unfortunately I ddin't have the video camera with me, so you will have to wait.

One thing I did learn: with approximately fifty feet of run, it was possible to run the train from a single set of feeders, positioned at about the twenty/thirty feet marker. None of the other joiners were soldered, apart from where the feeders were attached. After cleaning the track (and removing up to twenty year's worth of grime!) the train ran wonderfully, all the way to the last section in one direction...

Does this constitute a plan for the future? Heck no!

  • Every-other joint will be soldered
  • Feeders WILL be included in every soldered joint (max run six feet per feeder, centered).
  • I need a whole lot of no-ox...

More to follow!

And from now on, being as I have caught up, posts will represent current progress