When I decided to undertake this adventure, part of the draw was the opportunity to use some of flex track I had managed to acquire over several years in N scale. I previously had a layout with a substantial double-track run, so had a few feet of old track.
Unfortunately the reality of using it has not measured well in some places, and frequent enough issues arose to make track replacement a very strong argument. ESPECIALLY as I had one and a half boxes of Peco flex "left over" from finishing the yard...
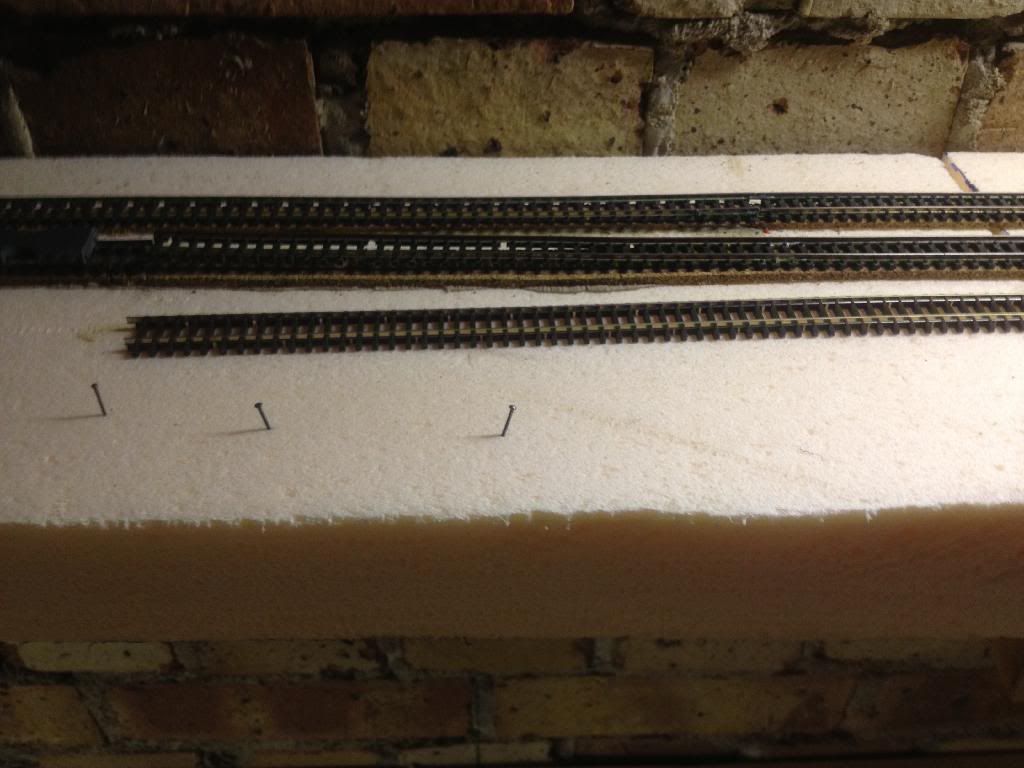
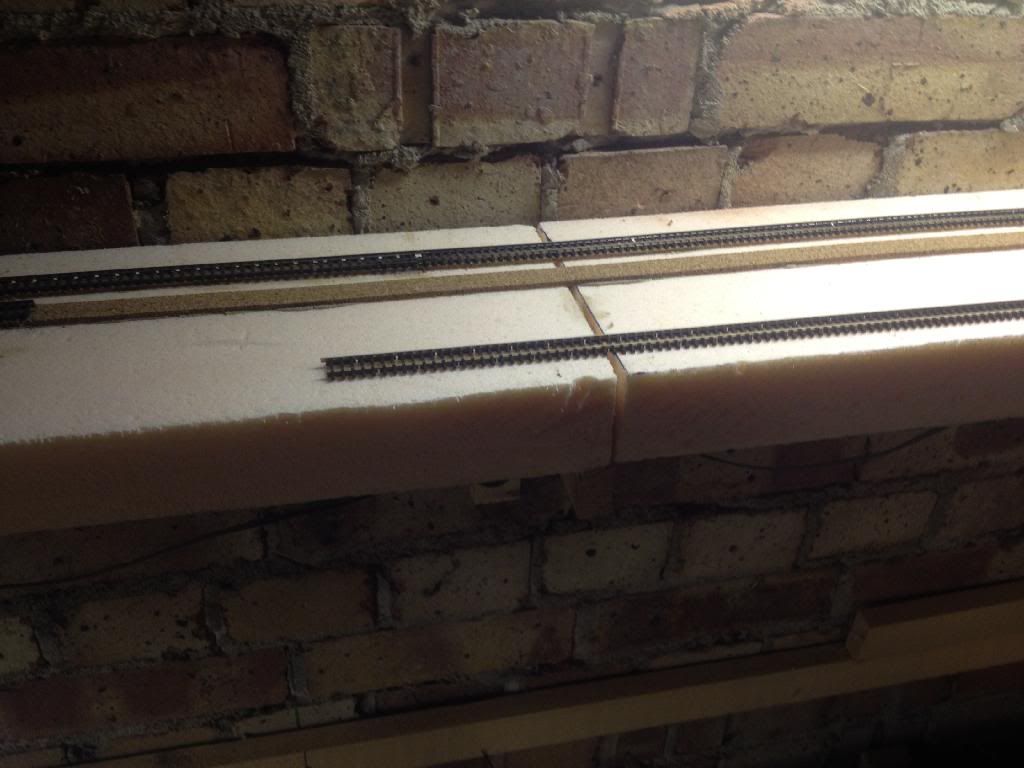
This section was one of the most recent, the inner track at Bad Brick:
I also took the opportunity to run some trains, because after all, why else do this?
Three CNW GP40s and thirty-three various covered hopper cars slowly negotiate new track on a tight corner. Wrong side running because of the backlog of trains, it will cross over at the next crossover, as a delayed train was just behind me on the left-hand track...
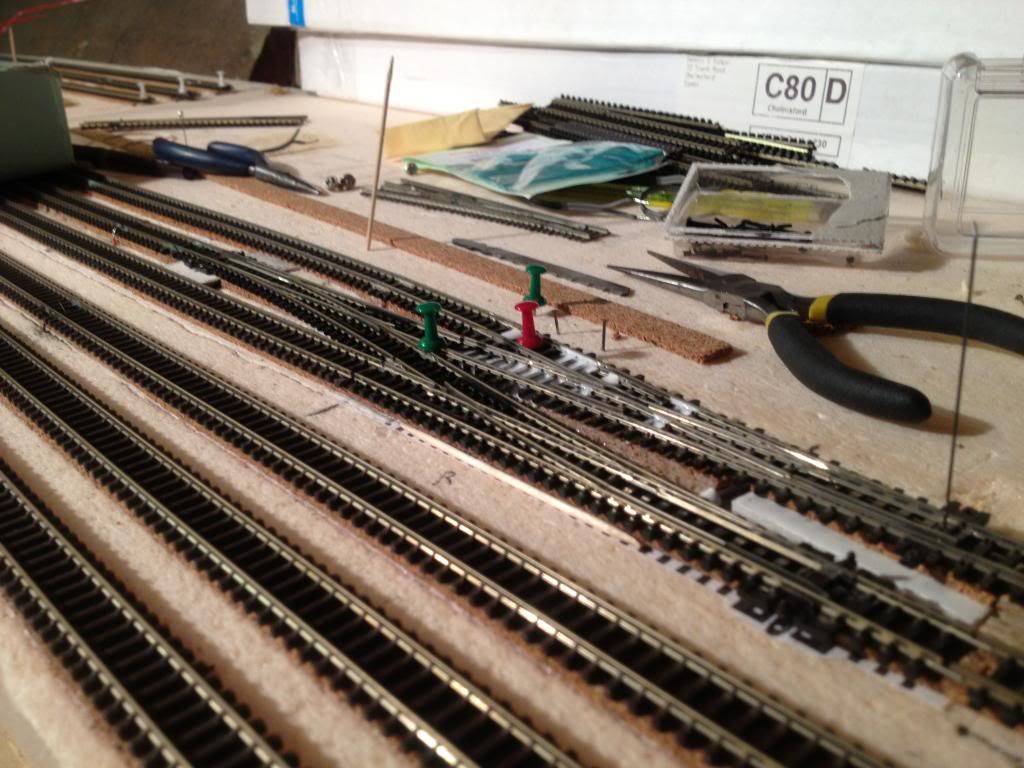
Later, I installed a servo motor and control board I have been experimenting with (see http://n-scaleprojects.blogspot.co.uk/2014/04/servo-turnout-motors-on-foam-layout.html). I am impressed with the simplicity and operation of the unit, as well as the current routing without shorting feature of the control board. Will be doing a few more of these at least, maybe quite a few, as I upgrade mainline tracks, station tracks, and switch leads. If it all goes quick and smoothly enough, maybe even all of the turnouts one day:
The servo controlled turnout on the extreme right, prior to trimming the throw wire and the glue drying.
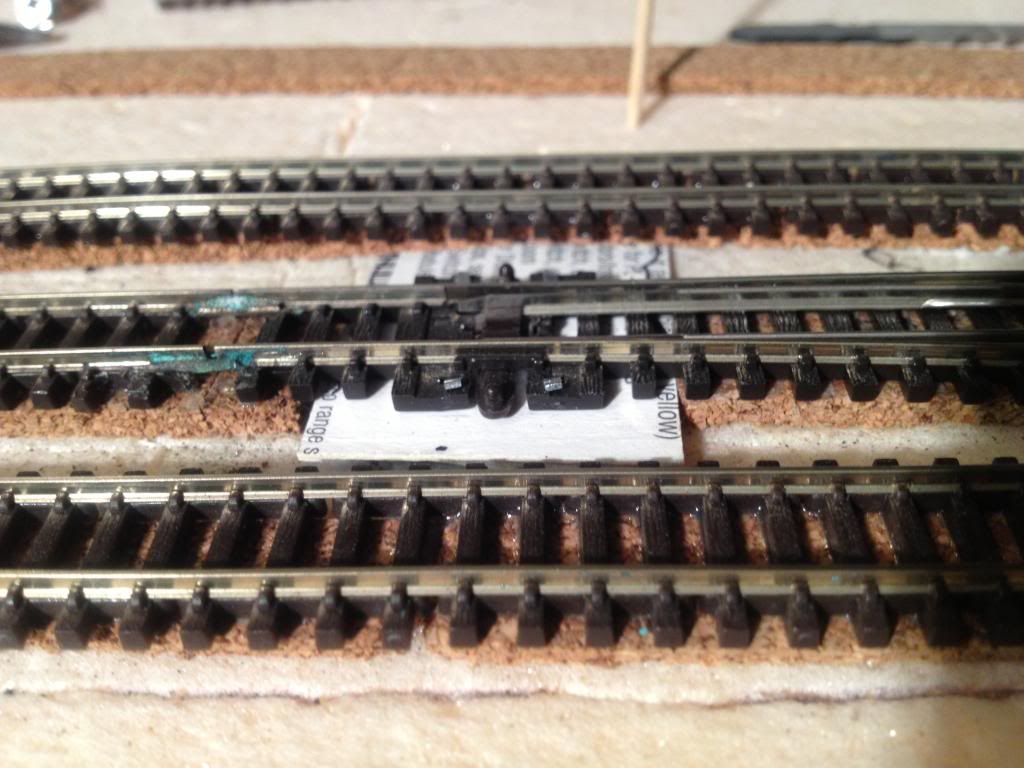
The "other option": Peco turnout motor mounted under the turnout, with a piece of card to protect the motor and cover it for scenery. I never really grew to like this installation.
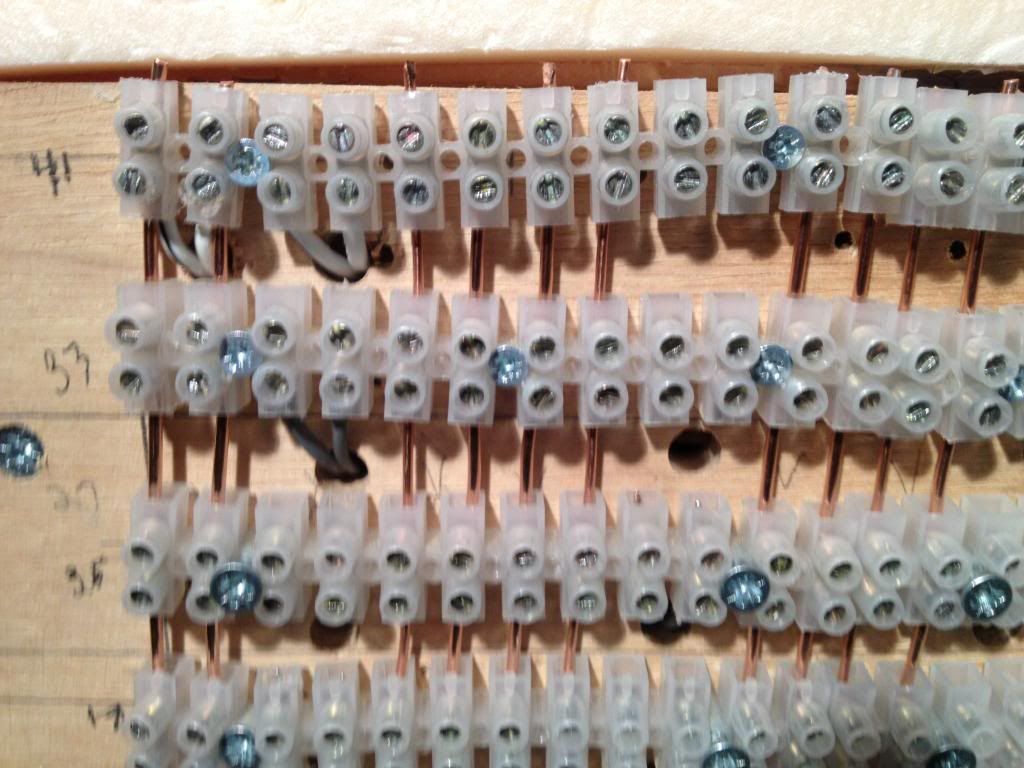
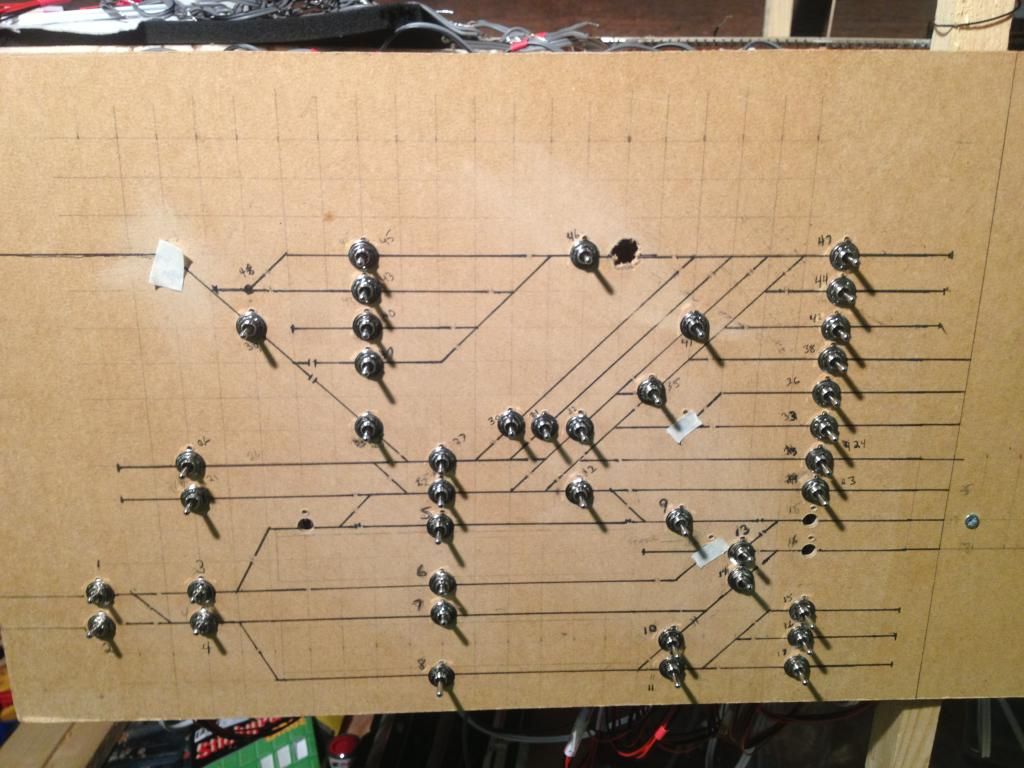
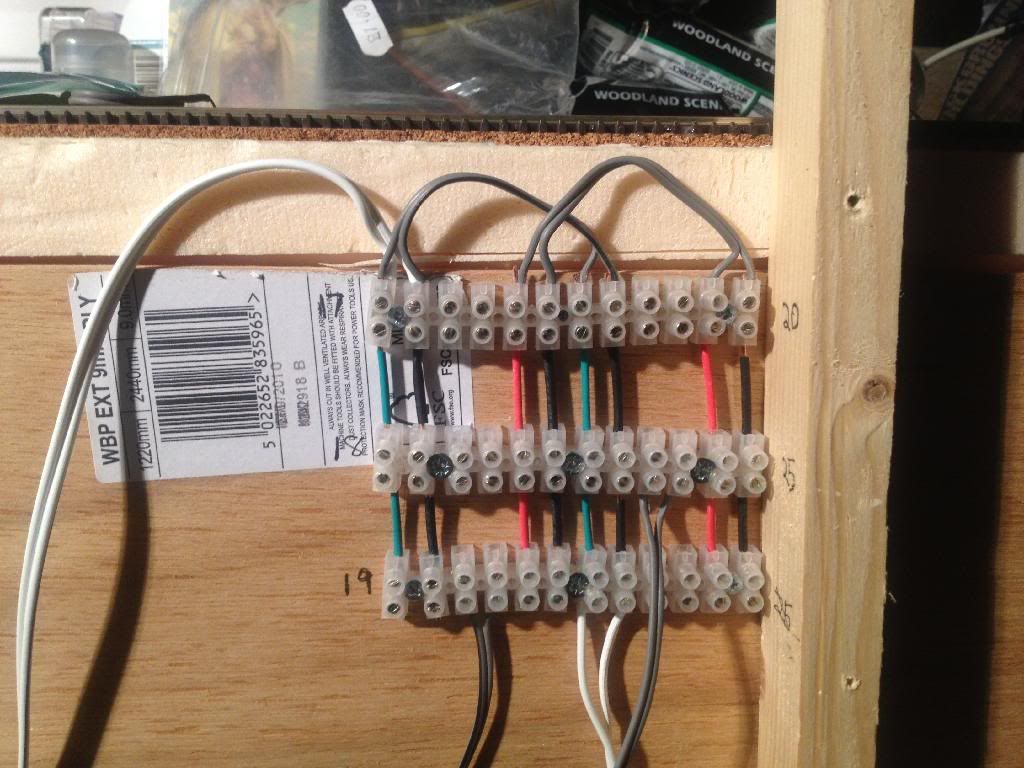
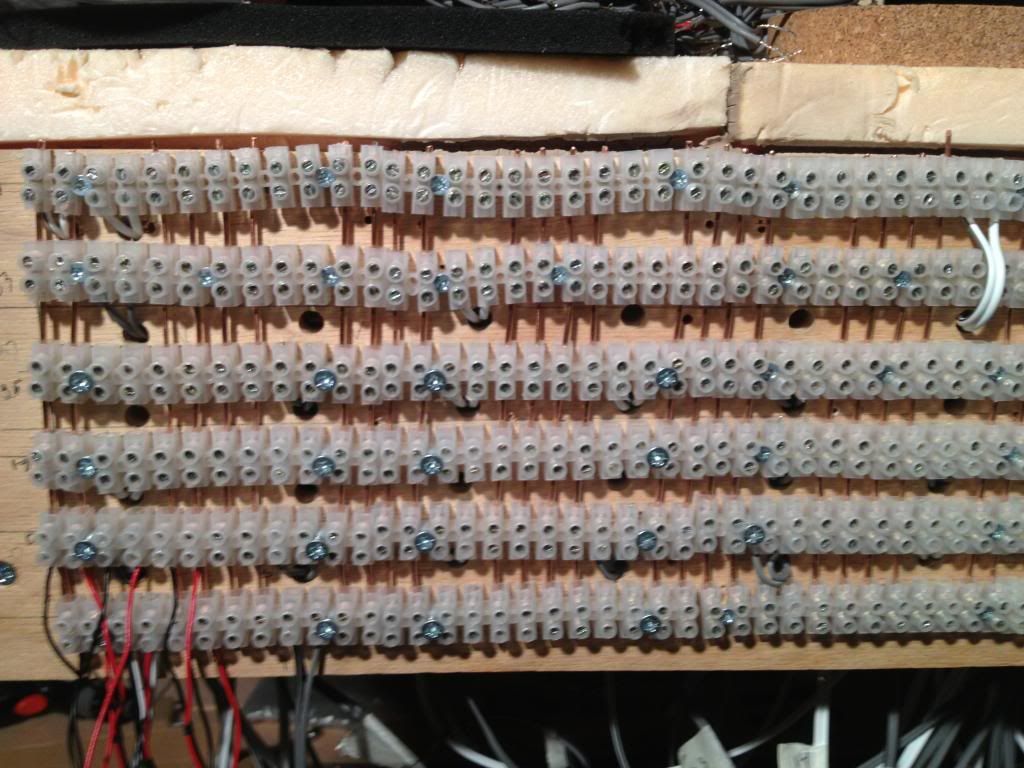
Lastly, i started improving the power distribution in the control panels. Starting with the remote panel for the Eastern end of the yard, I replaced the jumper wires for routing current to the selector toggles with stripped household mains cable. As there are three conductors in each cable, it did not take a huge length of it to give me enough bus wire. I added heat shrink tubing to insult the wires, but as an afterthought, /i felt it was overkill, and the biggest hassle of the whole operation:
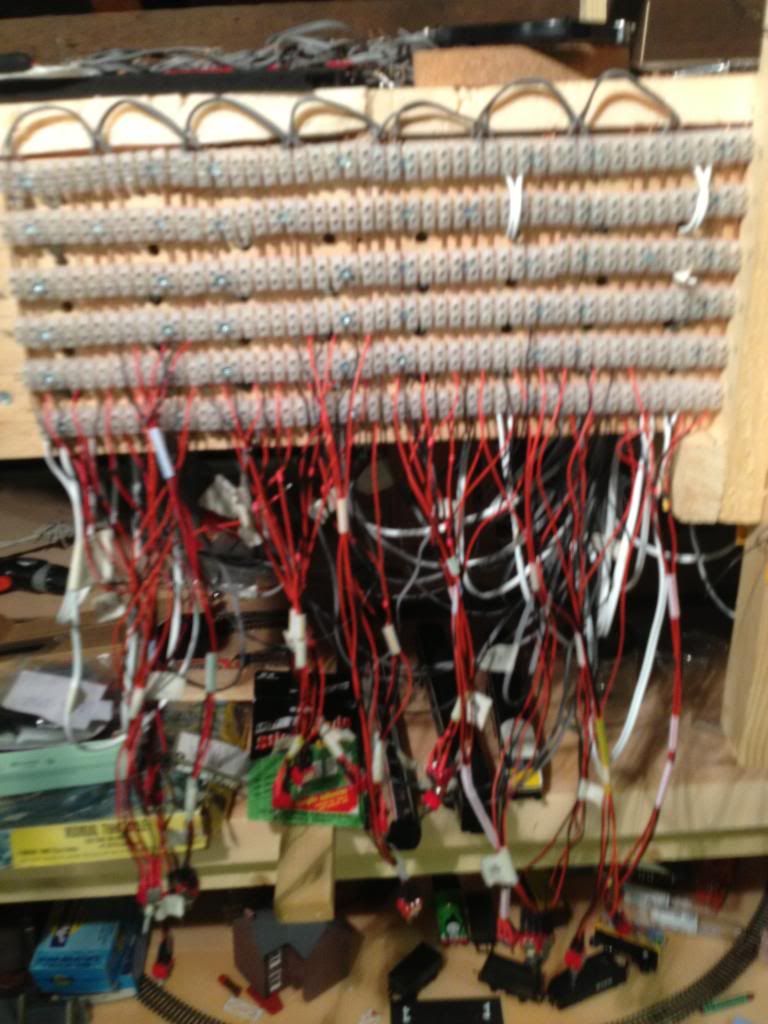
I progressed to the main panel, which gives a greater benefit in simplifying the wiring: