Tuesday, December 28, 2010

Lofty Ambitions Christmas Special

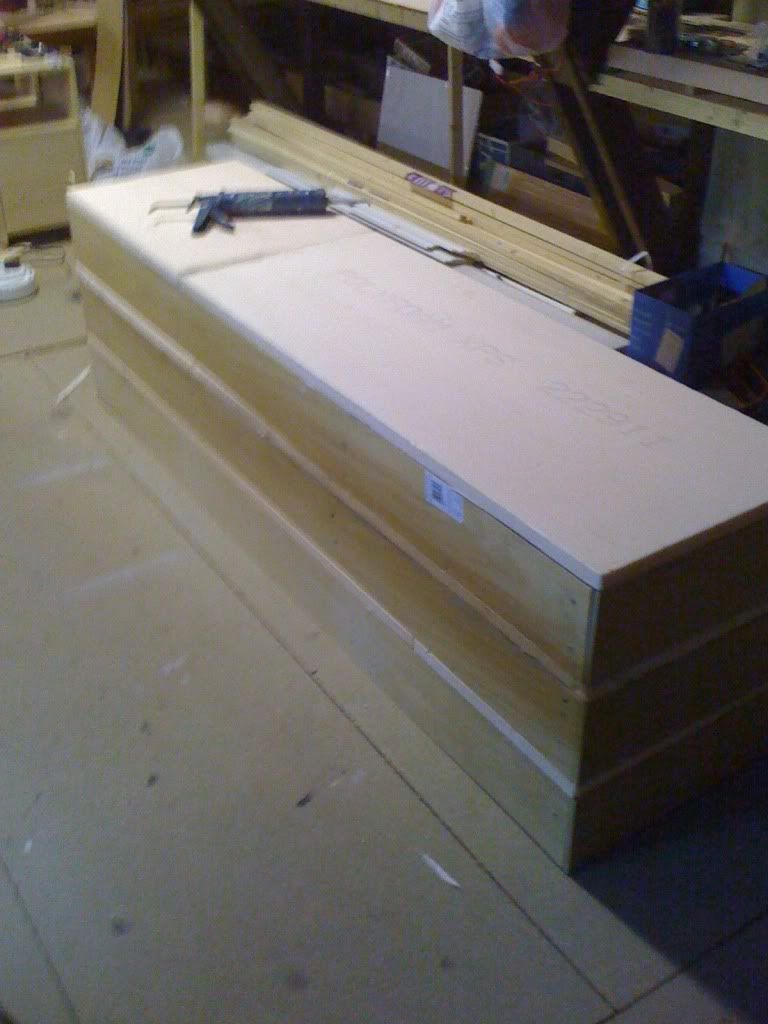
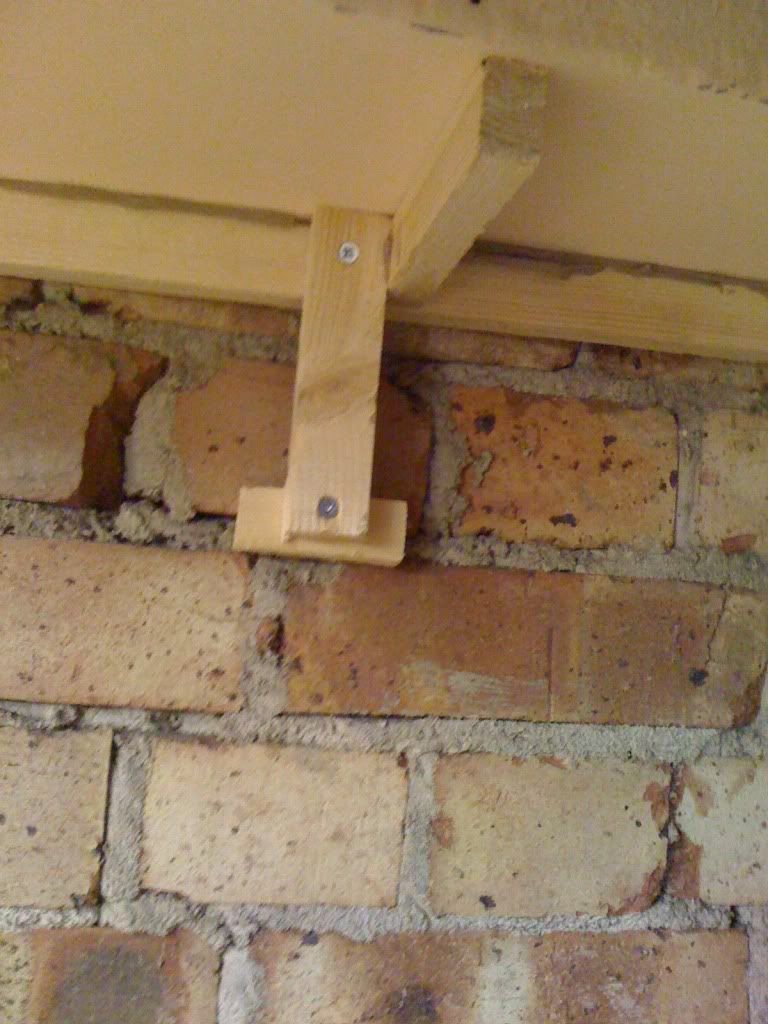
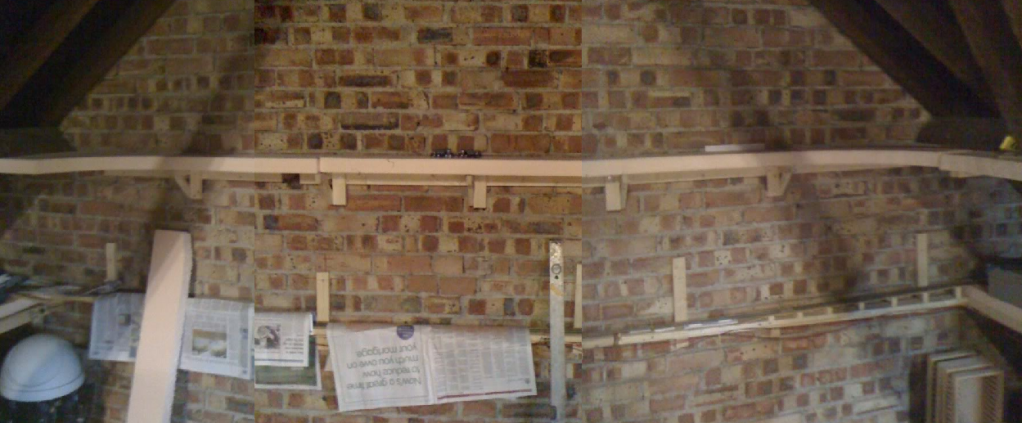
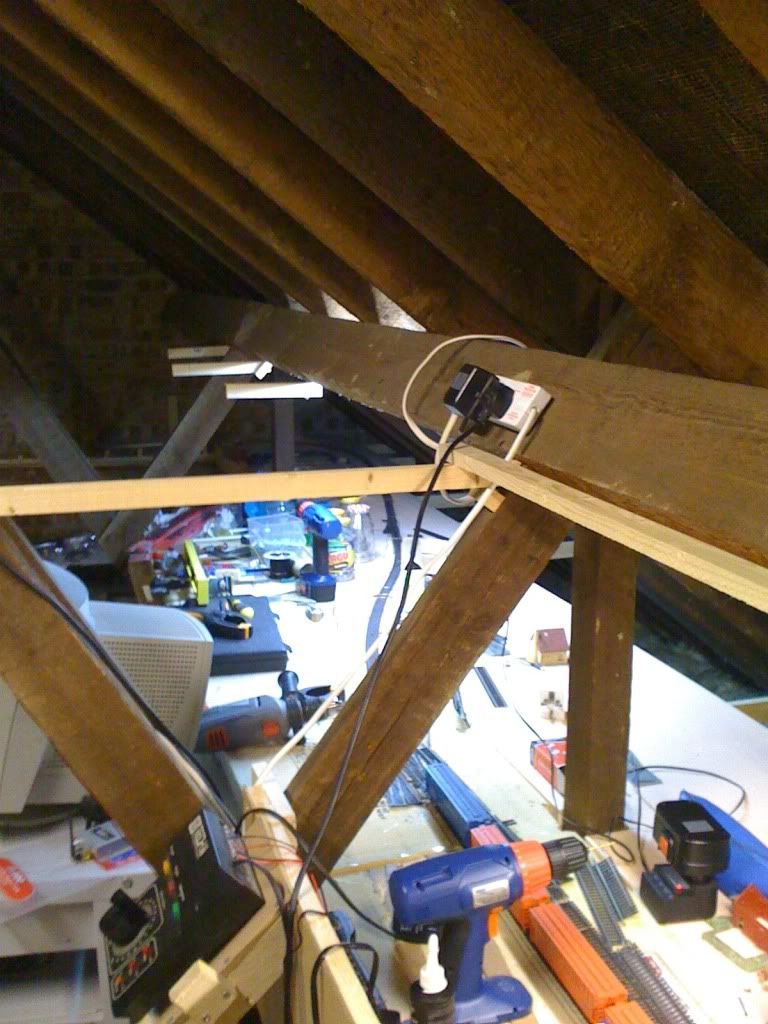
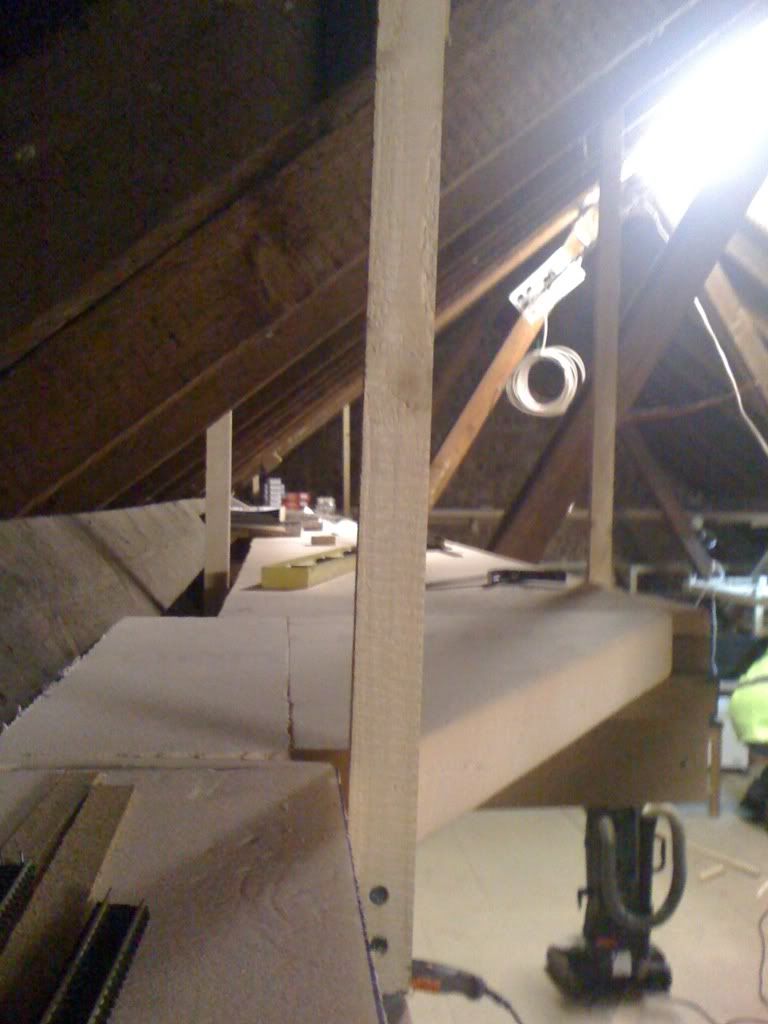
I managed to get the baseboards/sub-roadbed in place and connected all the way around the loft. Some shots of the progress. Subroadbed in place:


I took this after fixing the supports for the yard modules in place, but before I started on the far end or any track... 

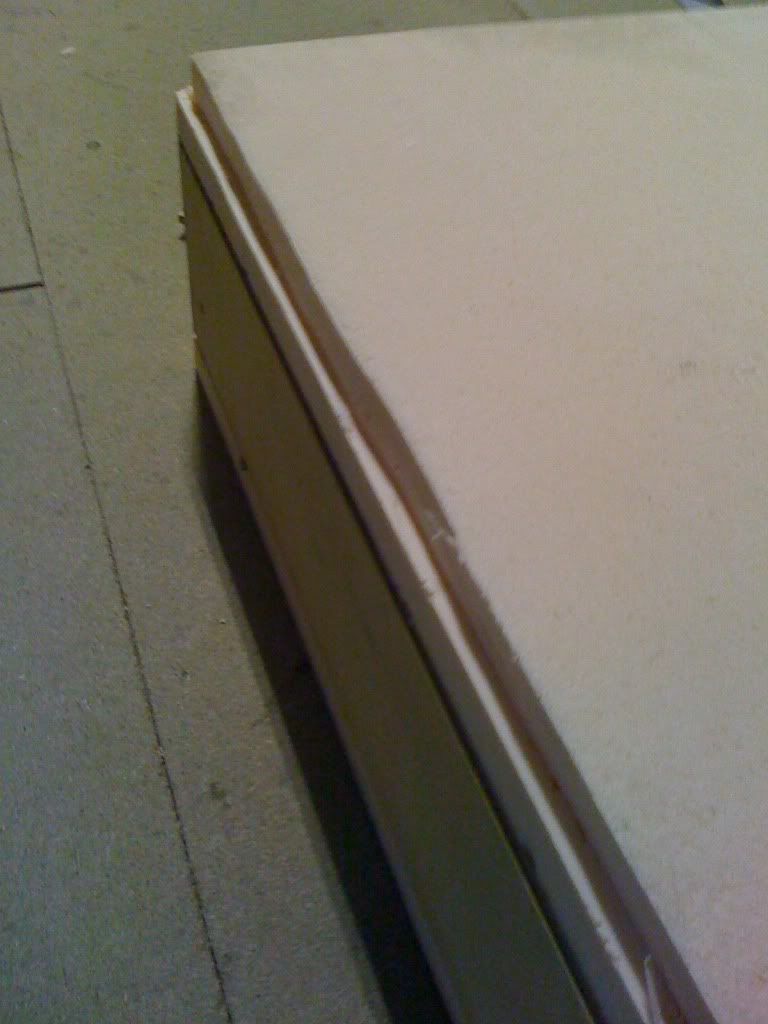
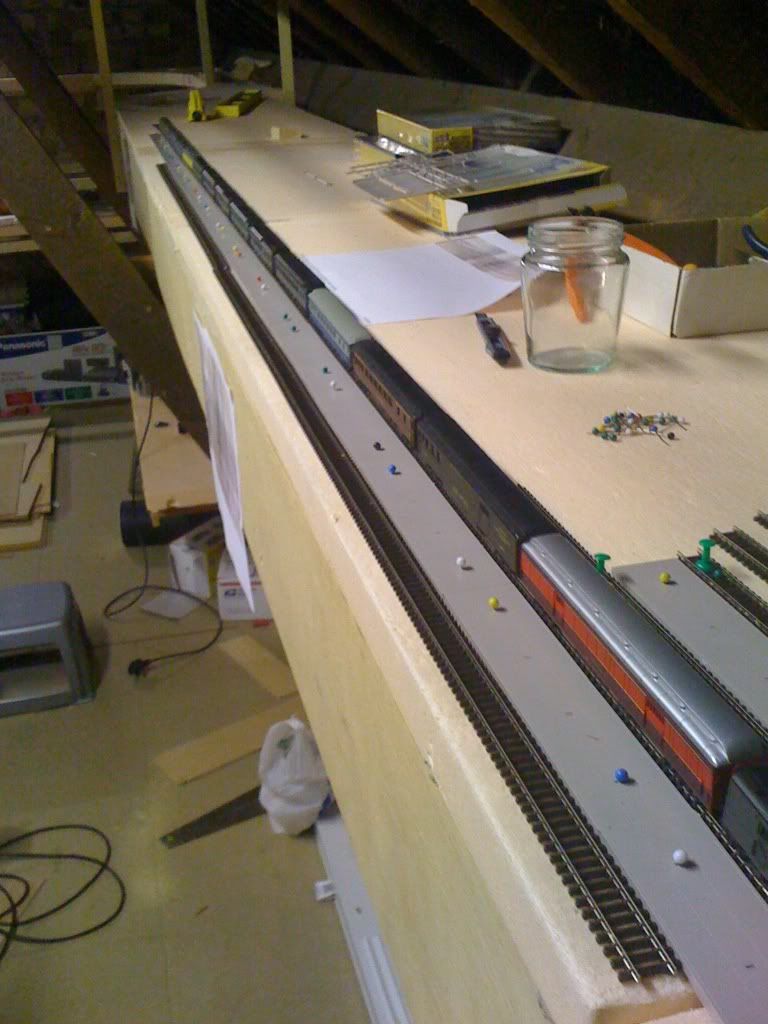
Transition into the Yard:

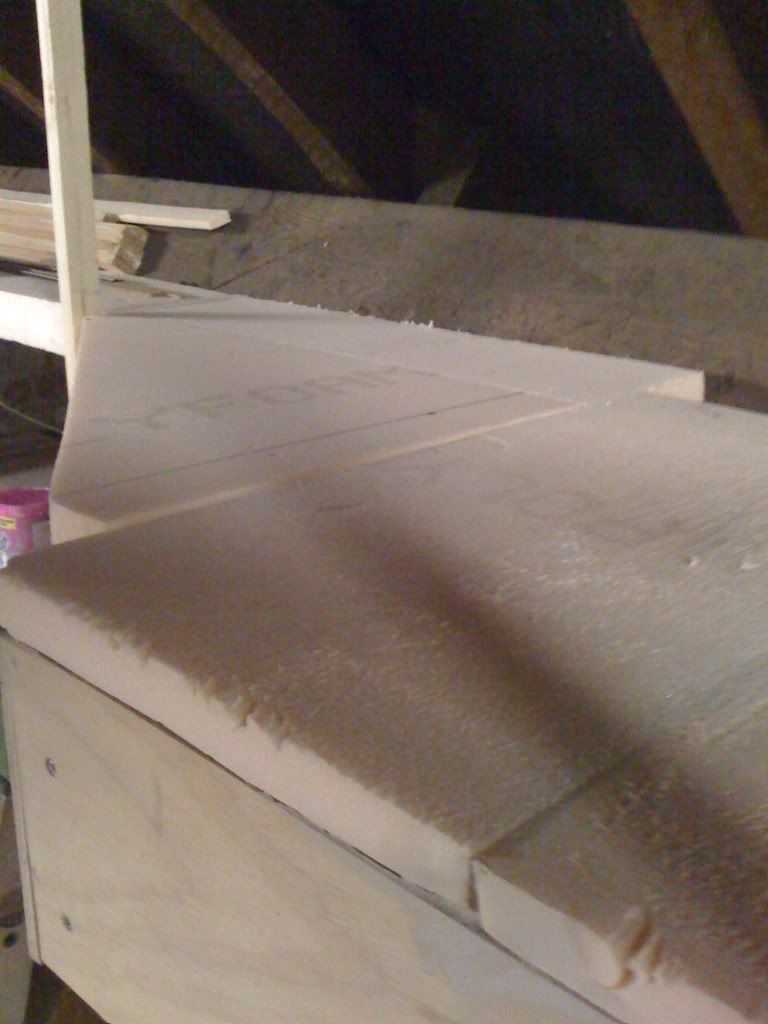
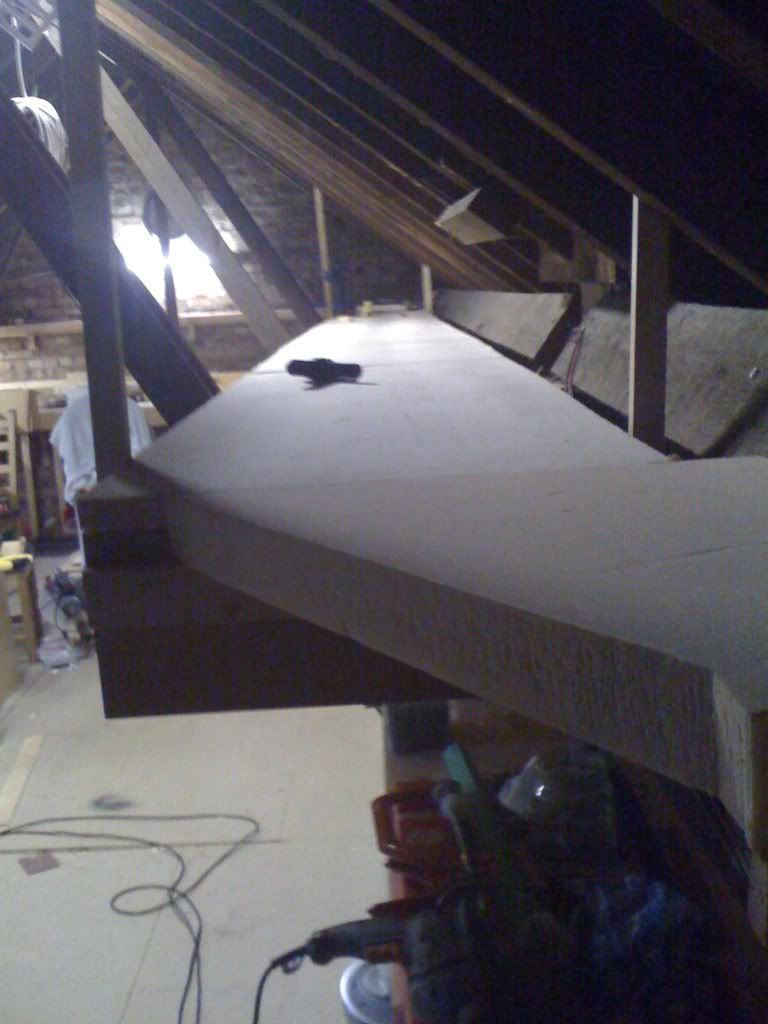
The transition from the narrow "around the walls" layout to the yard modules. The triangle shaped section is removable to allow the yard modules to come out. The two sections of foam are left over from other projects, so not wasted...

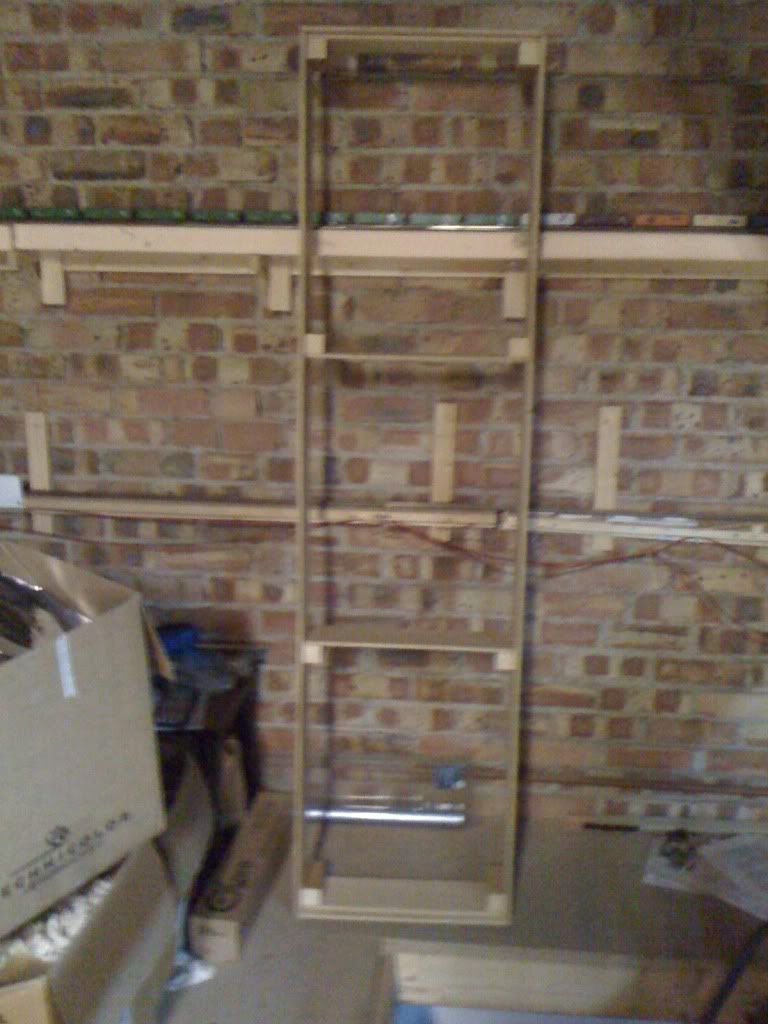
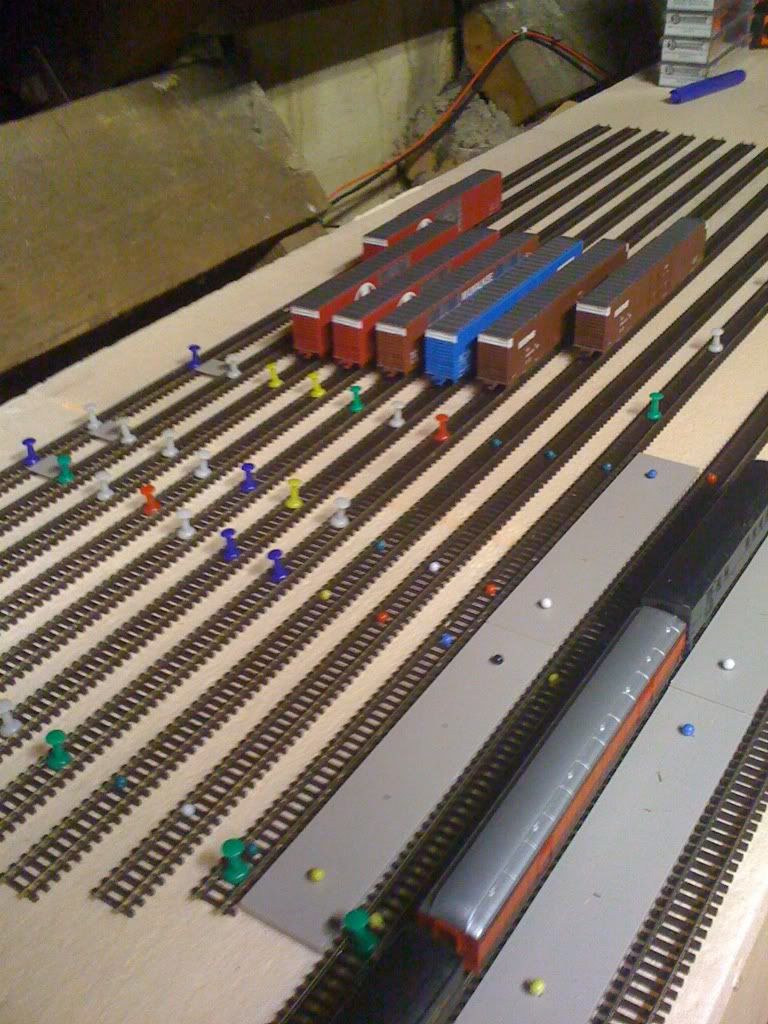
View through the Yard:


Now that it is all in place we can look down the space where the yard will be...
I then started to work on where the track will go, so I can hopefully get the mainline laid and run some trains all the way around.

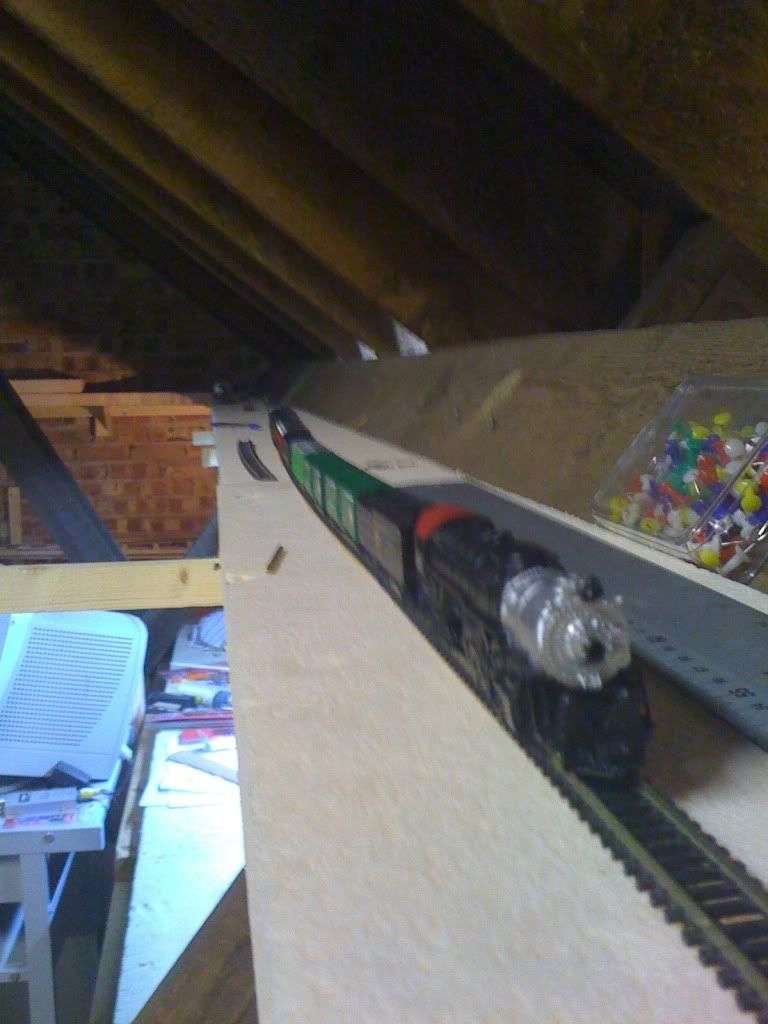
Platform One (of Two):

Rough-in of the Passenger Depot area; there will not be a station building on the layout, but the platforms will be lit. The platform is eight feet long, and the train is sixteen cars of heavyweights. 

A three track coach yard with three four foot plus tracks is planned for the area "behind" (down and left) this view.

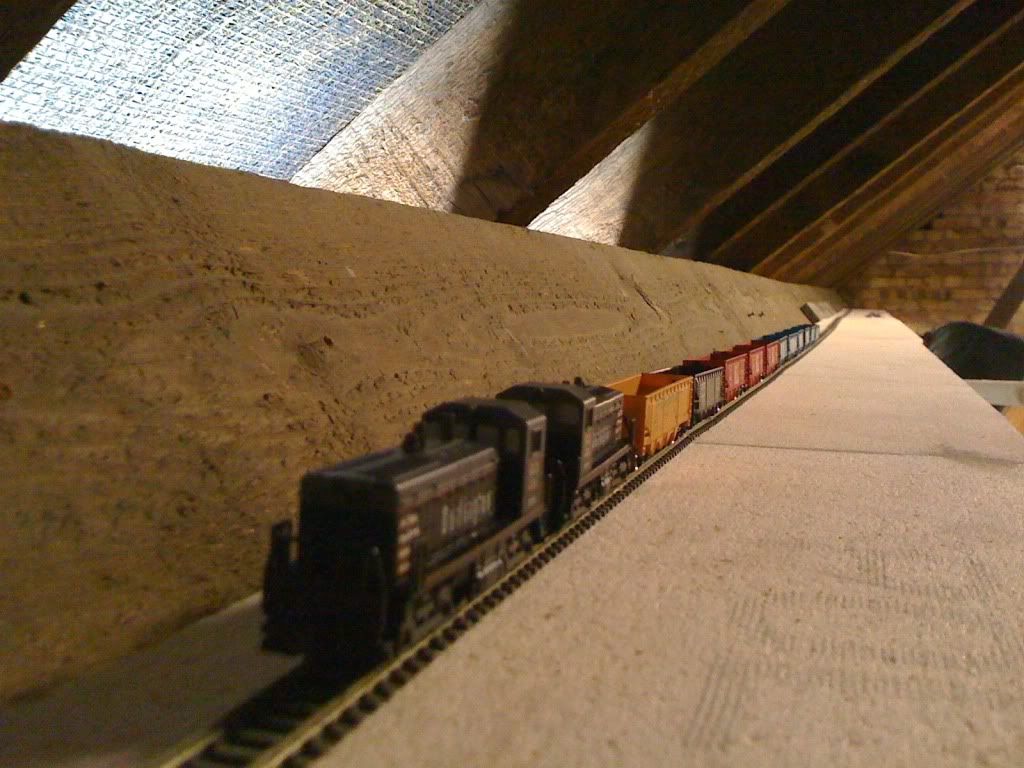
Proof of Concept test:


I laid out the tracks with proper spacing to see how many would actually fit in the space I have; it turns out that even after adding an additional track I still have some extra space along the back...

More "Proof of Concept":

 
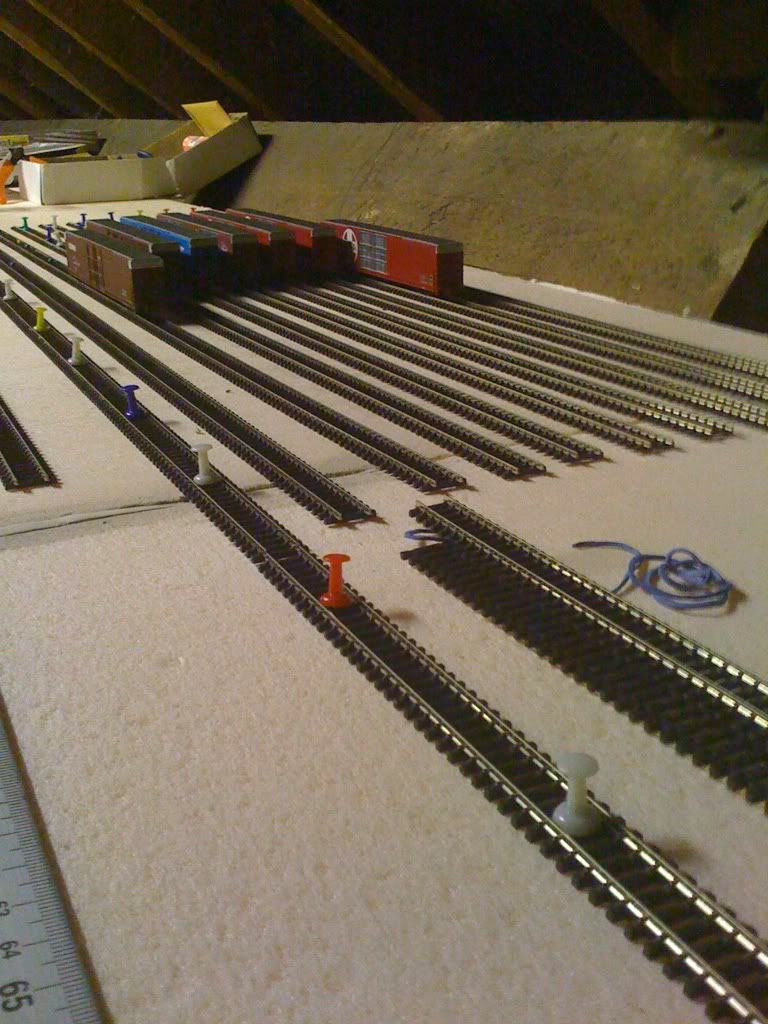
Another shot of the proof of concept testing. I laid out the tracks using the "bridge" walkway sections from the Walthers "Butterfly" platforms to space the tracks. The cars in this view are the Bluford Shops 86' High Cube box cars. Track is by Peco.

Tuesday is hopefully going to see the Mainline track laid through this whole side. I’ll update if and when…

Thursday, December 9, 2010

More Progress; Yard Frames Built!

Despite the colder than average attic this month, I managed to get the last of the three frames completed and the foam cut and fitted inside the frames. Now if the glue sets over the next couple of weeks i can attempt to finish the edges and get the yard section in place. After that it's run the rest of the mainline and start the trains!

But first; I mention partly recessing the foam into the frame section. I trimmed a channel around the edge of the faom sections where needed so that it sit halway inside and half above the frame. Not sure why, but I thought it would be better not to have a bare section of wood on the edge of the section; it is in effect a solid foam sub roadbed. Here's a shot of one section:


There are also eight 2"x2" supports and four plywood cross bars to support the foam, so it's not all down to the edge to keep it together.

Here's the three sections stacked for drying:


Like I said, getting there...

Monday, November 22, 2010

Progress on the Yard Modules

Well, so much for plans. After spending a w-o-n-d-e-r-f-u-l night in the ER with my grandson and his ear infection (funny how these come on sudddenly and badly over the weekend?) I didn't get as far as I would have liked, but I did manage to get two of the three yard frames finished. Here's one:


Apologies for the fuzzy picture; taken with my iPhone in the bad light at this end of the attic...

Might have got mostly finished on the third, except my countersink bit broke (well, the drill bit inside it broke, and OF COURSE that was the one size I didn't have a spare for!), and I've never taken a shine to the "British" version.

Nothing against the "local" variety, but I always found they make a messy hole, and you either need a second drill to do it easily, or spend a lot of time swapping between the bit and the countersink. Or be extremely talented and drill the holes all in one go, which I am not...

So the "new" plan, for the next building session, is to:

1. Finish (build) the third frame
2. Install the foam sub-roadbed. This will be recessed into the frame with about one inch above the framework, to give it a little added bracing for keeping square.
3. Add some additional bracing if needed to keep the frames straight, square, and level.

and if I have enough time:

4. Start planning/building the supporting framework to get the yard area baseboards in place.
5. Lay the through tracks to close the loop

and OF COURSE

6. Run some trains...

I'll also get some better pictures of the component of the frame as it goes together, in order to show off my engineering skills (lol). Might save someone else having to re-invent the method...

Wednesday, November 10, 2010

I'm getting there...

Maybe I should re-read history and recall how long it took REAL railroads to get to where they were trying to go. Then I wouldn't feel the same way about my slow progress.

I HAVE managed to get the "engineering" sorted for the yard section, and yes, it will be removable. Thankfully the local building store offers up to fifteen free cuts on a piece of wood (or order), so I took my 4'x8' (or whatever the metric equiv. is!) and said "Six inch strips please. Lengthwise..."

So now in the loft there is a pile of:

6 x 5'11 3/8" x 6" strips (six feet long minus the thickness of two strips that go on the ends)
6 x 18" x 6" ends
10 x 17 3/8" x 6" "inner braces"
36 x 2" x 2" x5" corner braces

I'm figuring that a six-foot long section will allow me to move and transport the yard reasonable easily, without making too many joints in the complex parts of the track. I'll wedge/glue a 'top' of foam inside the frame, and leave it sticking an inch over the top of the frame, and flush with the sides. Unless it turns into too much of a PITA. Between all that cutting, and making some progress on the "downstairs" decorating, I didn't get it build this weekend. Oh well, it's all there ready for "next time"...

Monday, September 27, 2010

September is Almost Over Already?

And I know I haven't kept this going regularly, but I have only done one day's work on the layout all month. I managed to extend the double track halfway around the room, and installed the first crossover.


After that I spent a couple of hours doing track maintenance, brought about by either the drop in temperature, or the selective fickleness of wheel on my Bluford Shops high-cube box cars. Either way, I was able to run the entire train from end to end with only one small hiccup, probably from a car needing to be "gone over". My son shot some video:


...the focus is a little off, as we were experimenting and suffering from bad light...

Wednesday, September 1, 2010

August Progress omnibus

This month has been a little slow on the construction side; outside influences and two weeks of vacation meant the part that was left was filled up with other stuff. Yes, it does happen lol...

I DID however manage to lay the beginning of the double track main line along one side of the loop; I still need to work out the "how" factor for the yard, but the good news is the rest is progressing, even if slowly at the minute. It is surprising how quickly the second track goes in, after the time and effort to build the shelf and lay the first track. Probably very similar to what "plains" railroads find when double tracking...

Since I did a few feet in a number of visits, I didn't get any pictures. But next time, I will...

Tuesday, June 22, 2010

Week Four:

Over the weekend I laid another twenty-some feet of track. And test ran a train. Unfortunately I ddin't have the video camera with me, so you will have to wait.

One thing I did learn: with approximately fifty feet of run, it was possible to run the train from a single set of feeders, positioned at about the twenty/thirty feet marker. None of the other joiners were soldered, apart from where the feeders were attached. After cleaning the track (and removing up to twenty year's worth of grime!) the train ran wonderfully, all the way to the last section in one direction...

Does this constitute a plan for the future? Heck no!

  • Every-other joint will be soldered
  • Feeders WILL be included in every soldered joint (max run six feet per feeder, centered).
  • I need a whole lot of no-ox...

More to follow!

And from now on, being as I have caught up, posts will represent current progress

Week Three

Before doing anything else I spent a little time fashioning some simple brackets for the drooping foam:


The principal is a squared bracket made from two pieces of wood, glued and screwed together. I added a piece of scrap under the bottom to apply “lift” to the front where it was needed. Since the foam here was already glued in place, these just site under it, and support it. Gluing them would have been more mess than it was worth.


For the opposite end of the loft (near the access stairs) I went for a little better visual affect, since this is the part that will be seen on entry, and hopefully better wood means less maintenance in a potentially dangerous place. And since I was adding everything with prior knowledge of what ‘worked’ and what ‘didn’t’, I fashioned the sufficient number of brackets and fastened them to the support rail prior to placing the foam. I was thus able to ensure everything was solid, level, and even if I say so, looking pretty good:


A pan shot of the end wall, cobbled together form three individual pictures; it is enough to convey what's happening...


The newspaper covers the HO line underneath, to keep brick dust out of the track. I really should have moved it before taking pictures…

This makes three of the four sides ready for track, which I did start on Sunday, getting about one-third of the way along one side, probably about twelve to fifteen feet of track installed. No wiring or soldering so far, as I wanted to see how it handles the temperature changes over the next two weeks. I’ll probably solder joints on the corners, but leave the others to ‘float’, and add feeders every section of rail that is not soldered, which should work out to no more than nine feet.

I only laid one line so far, to see how I could get on with the meandering track alignment, and to give me a chance to get all the way around before I run out and have to buy more! Plus I have to decide how to handle the turnouts; so far Bob’s (BobTheBear) method with a micro-switch at track level is at the fore-front, though I might need to be a little more creative if I build the freight/passenger yard and station I have been toying with. But more on that next month.

For now, a motivation:


Thirteen cars of heavyweight action, following a Bachmann Northern. This is the reason I decided to take up the challenge; thirteen cars of passenger train is dwarfed by the size of the run!

And one more thing:In the “features” I discussed adding a fairly sizable “Rural” Union Depot with service tracks and passenger switching options.

Well, I decided to take this one step farther, and I modified the idea slightly after finding this plan I drew up for a possible N-Track project (before the 'local' N-Track bunch irritated the bejesus out of me):


It's adapted from John Armstrong's Track Planning for Realistic Operation, and features "everything" you would want in a division point yard. Leads for two switchers, passenger station, coach yard, and plenty of car storage.

I might fiddle some more with the plan now that N-Track compatibility is not a requirement, and hopefully make it sectional and removable so it can travel. That way I can take it in to the local shows and impressive the hell out of the locals.

The full-size image can be viewed in my photobucket space:

http://i350.photobucket.com/albums/q425/dckuk/Lofty%20Ambitions/condensedyardplan.png

More progress in a few days’ time!

Thursday, June 17, 2010

Construction – Week One

I was off to a good start; after managing to decide a method to support a six-inch (about sixteen and a half centimeter) wide strip of foam baseboard and revising those plans it was all happening.Until tragedy struck:


My glue gun failed, probably due to a clog from dried glue in the nozzle. Still, I managed to get four sections glued, supports up for the fifth, and plotted the corner sections and curves out.


These views show the supports I installed; short ones are just wide enough to support the spans every two feet, and the longer runs between two of the roof supports to add a bit more structural integrity.


The foam by itself is rather plain; it is possible to imagine how this space can be used to run long trains. Two of my Atlas/Rivarossi SW1500 units, and eleven coal hoppers.

Notice how the train is dwarfed by even this initial section. I chose the code 83 track so these could run here, and I had a bunch of it left over from previous layouts. If I need more, it is more cost effect to source Peco locally that to import ME code 55, and I didn’t want to spent a year hand laying a couple of hundred feet of track!


When viewed from the far end you can’t even see the train!

How to have it all when you don’t have enough space...

We’ve probably all been there, unless you are fabulously blessed with far more space than is good for you; the desire to have more than you can fit within your current boundaries.

For me the desire is and always has been to recreate the long drag freights, extensive TOFC and COFC expresses, and of course the full length passenger trains from the heavyweight and streamline eras. I’m not really concerned with acquiring big steamers, or faithfully recreating freight operations of the transition era, so for the most part the greatest obstacle in my way has been space; space for the mainline run or a proper division-point yard (though that REALLY isn’t necessary). Some of the minor points of ‘want’ include broad twenty-four inch radius mainline curves (though lesser on the inside of double track is a compromise) and sufficient length of run that a train of fifty to seventy-five cars is not catching up with itself as it goes around and around.

Until now. Now I have access to a space that will allow me to indulge my need for wide open spaces, while continuing to build a compact and highly detailed urban-based primarily switching layout with a bit of mainline run. The division of time between two locations; my son’s flat (where I can get the space to build the mainline layout) and home (where I’ll continue to work on the Inland Port and Terminal Railway) really isn’t changing. What is changing is my drive to do something more productive “train wise” with my time away from home that at the same time allows me to indulge some of my “wants”.

The Plan

So what I am after is:

  • Twenty-two to twenty-four inch radius curves; nice in HO scale, but so far (at least to me) a serious, and out of reach, luxury

  • The desire to see a long train in the straight away (or gently rolling serpentine ‘straights’). If we figure 3.75” for a 50’ car (let’s call it four inches for the sake of it!), that means the previously mentioned fifty car (or fifty well) train comes out to two-hundred inches, or just under seventeen feet, plus locomotives and cars.

  • Simplicity. I DON’T want another project buried in detail work, so hand laid track is NOT the order of the day. I also have a BUNCH of flex from previous years’ of N-Scale, so Code 83 flex and Shinohara turnouts, plus a few Peco if I cannot get the Shinoara turnouts I need to round out crossovers.

  • The ability to run the remnants of “N-Scale past”; those locomotives that are just not up to code 55 track and DCC standards, such as my Con Cor SD40-2s, Model Power F40PHs, and some legacy freight cars as well as the gamut of Con Cor passenger rolling stock.

  • Prepare for a reasonable place to run properly detailed passenger trains, with working diaphragms and maybe even body-mounted couplers (like the new heavyweights that Micro-Trains are threatening to have available this summer).

Given a space of roughly thirty three feet by eleven and a half, I drew up this “initial” rough draft:


Yes, THIRTY THREE FEET by ELEVEN AND A HALF FEET! But, it needs to stay narrow, as not to impose on the HO layout growing underneath it. And simplicity means I may actually get it running quickly, considering it is going to be a three day a month or so project...

To be continued…