Before doing anything else I spent a little time fashioning some simple brackets for the drooping foam:
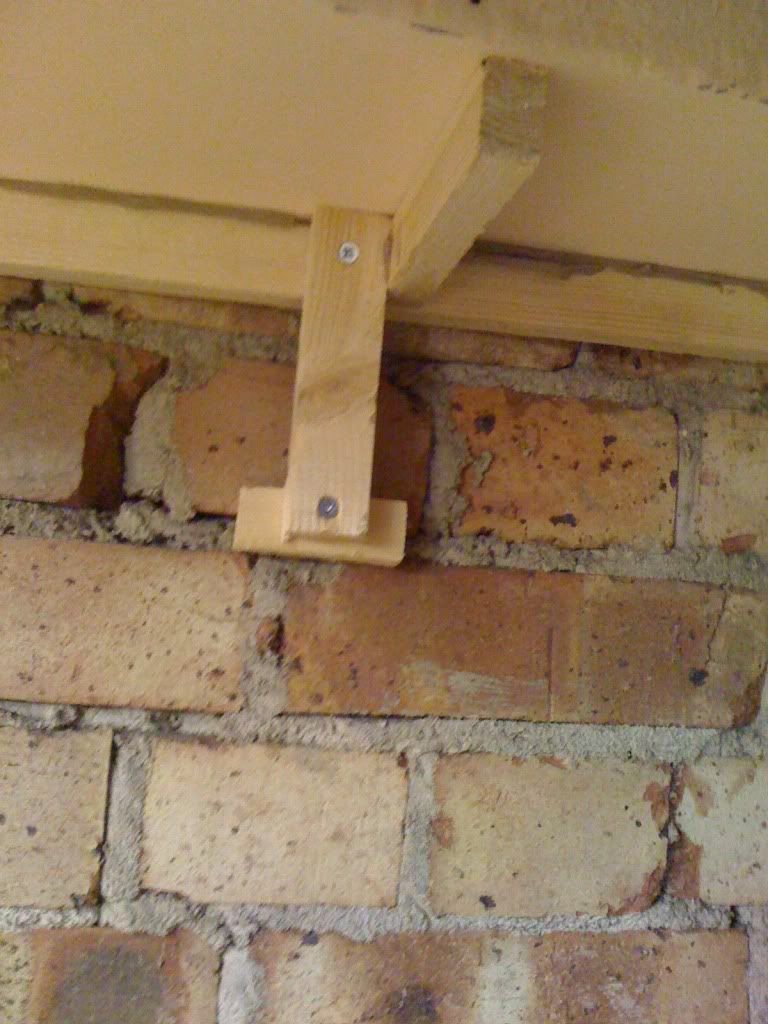
The principal is a squared bracket made from two pieces of wood, glued and screwed together. I added a piece of scrap under the bottom to apply “lift” to the front where it was needed. Since the foam here was already glued in place, these just site under it, and support it. Gluing them would have been more mess than it was worth.
For the opposite end of the loft (near the access stairs) I went for a little better visual affect, since this is the part that will be seen on entry, and hopefully better wood means less maintenance in a potentially dangerous place. And since I was adding everything with prior knowledge of what ‘worked’ and what ‘didn’t’, I fashioned the sufficient number of brackets and fastened them to the support rail prior to placing the foam. I was thus able to ensure everything was solid, level, and even if I say so, looking pretty good:

A pan shot of the end wall, cobbled together form three individual pictures; it is enough to convey what's happening...
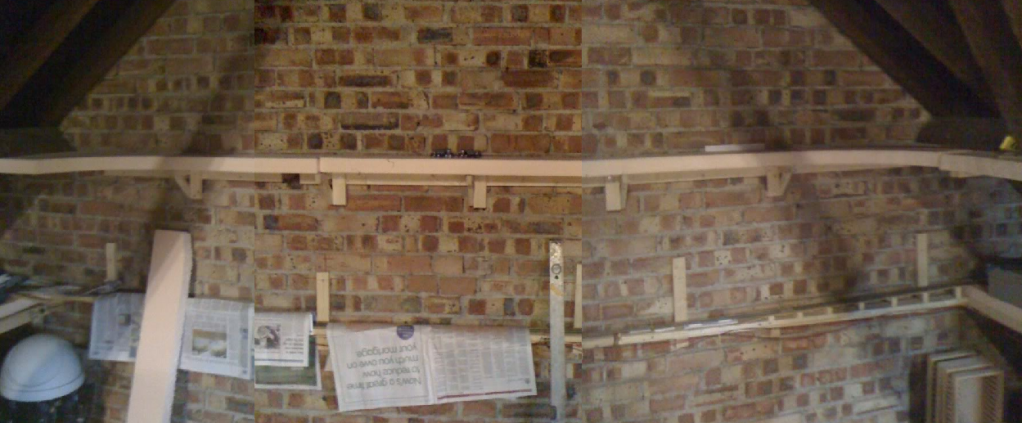
The newspaper covers the HO line underneath, to keep brick dust out of the track. I really should have moved it before taking pictures…
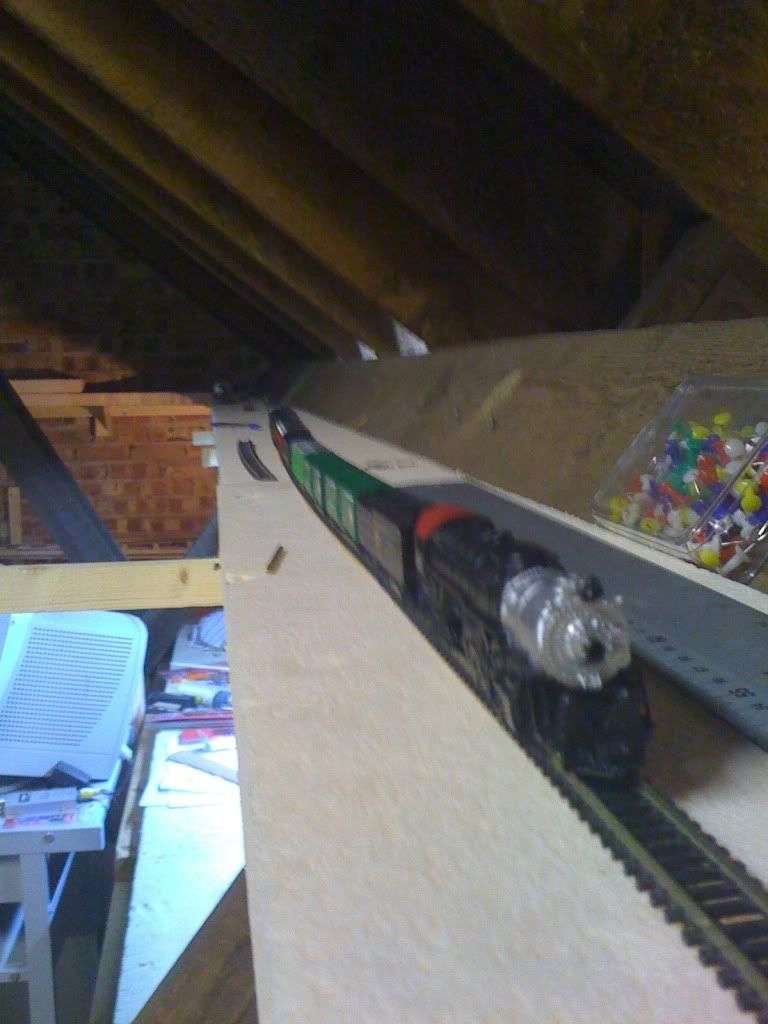
This makes three of the four sides ready for track, which I did start on Sunday, getting about one-third of the way along one side, probably about twelve to fifteen feet of track installed. No wiring or soldering so far, as I wanted to see how it handles the temperature changes over the next two weeks. I’ll probably solder joints on the corners, but leave the others to ‘float’, and add feeders every section of rail that is not soldered, which should work out to no more than nine feet.
I only laid one line so far, to see how I could get on with the meandering track alignment, and to give me a chance to get all the way around before I run out and have to buy more! Plus I have to decide how to handle the turnouts; so far Bob’s (BobTheBear) method with a micro-switch at track level is at the fore-front, though I might need to be a little more creative if I build the freight/passenger yard and station I have been toying with. But more on that next month.
For now, a motivation:
Thirteen cars of heavyweight action, following a Bachmann Northern. This is the reason I decided to take up the challenge; thirteen cars of passenger train is dwarfed by the size of the run!
And one more thing:In the “features” I discussed adding a fairly sizable “Rural” Union Depot with service tracks and passenger switching options.
Well, I decided to take this one step farther, and I modified the idea slightly after finding this plan I drew up for a possible N-Track project (before the 'local' N-Track bunch irritated the bejesus out of me):

It's adapted from John Armstrong's Track Planning for Realistic Operation, and features "everything" you would want in a division point yard. Leads for two switchers, passenger station, coach yard, and plenty of car storage.
I might fiddle some more with the plan now that N-Track compatibility is not a requirement, and hopefully make it sectional and removable so it can travel. That way I can take it in to the local shows and impressive the hell out of the locals.
The full-size image can be viewed in my photobucket space:
http://i350.photobucket.com/albums/q425/dckuk/Lofty%20Ambitions/condensedyardplan.png
More progress in a few days’ time!
No comments:
Post a Comment